Transform Your Neckline in 6 Simple Steps with Genius Sewing Tips!
Transform Your Neckline in 6 Simple Steps with Genius Sewing Tips
Introduction
Have you ever looked at a piece of clothing and thought it could use a little something to elevate its style? Perhaps the neckline feels too plain or doesn’t sit quite right on you. Necklines can dramatically change the overall look of your outfit, making them a vital part of your wardrobe. With just a few sewing tips, you can transform a basic neckline into a stunning focal point. Read on to discover how you can enhance your garments with simple yet effective techniques.
Required Materials
Before diving into the transformation process, gather a few essential materials to ensure you have everything you need on hand. Here’s what you’ll require:
- Fabric scissors – A good pair will make cutting much easier.
- Measuring tape – For accurate measurements.
- Needle and thread – Match the thread to your fabric color.
- Tailor’s chalk or fabric markers – For marking adjustments.
- Pattern paper – If you wish to create a new neckline shape.
Step-by-Step Guide
Transforming your neckline can be straightforward. Follow these six simple steps to achieve the look you want:
1. Choose Your Neckline Style
Begin by deciding on the type of neckline you want. Here are some popular options:
- V-neck
- Scoop neck
- Boat neck
- Square neck
2. Measure and Mark
Before making any cuts, measure the existing neckline and mark where your new neckline will be. Use the measuring tape for accuracy and tailor’s chalk to create clear marks on the fabric.
3. Cut the Fabric
With your new neckline line marked:
- Carefully cut along the line you’ve drawn, ensuring you don’t snag the fabric.
- Double-check the symmetry of your cut before proceeding.
4. Prepare the Edges
To prevent fraying, it’s essential to finish the raw edges. Here are a couple of techniques you can use:
- Serger – If you have access to one, this creates a clean finish.
- Zigzag stitch – Use a sewing machine for a simple yet effective edge finish.
5. Attach a Facing or Binding
Depending on your fabric choice, you may want to add a facing or biased binding to give the neckline a polished look:
- Cut the facing pattern pieces based on your new neckline.
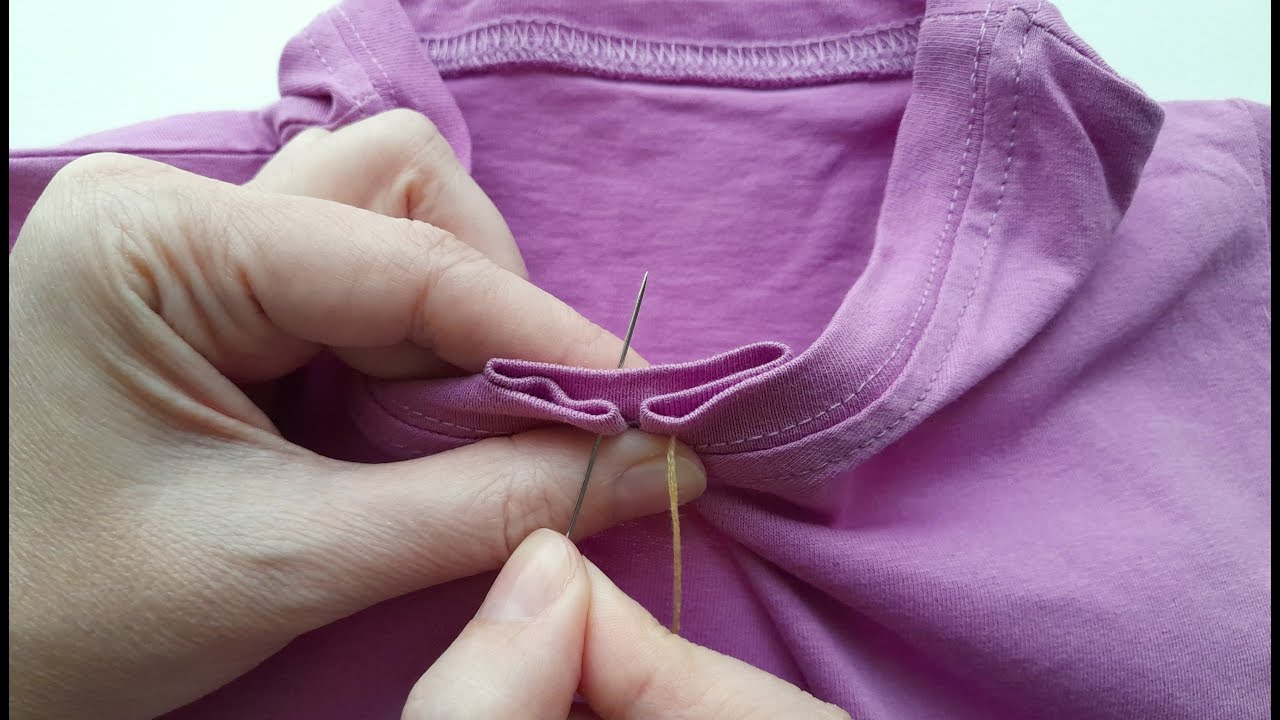
- Sew the facing or binding to the neckline, making sure to press it neatly.
6. Final Touches
Finish your neckline transformation by pressing it with an iron. This will ensure everything lays flat and looks clean. Take a moment to admire your work!
Common Mistakes to Avoid
While redesigning your neckline can be fun and rewarding, there are some pitfalls to steer clear of:
- Not measuring accurately can lead to uneven cuts.
- Skipping finishing edges may result in frayed fabric.
- Choosing an inappropriate fabric for your chosen neckline style.
- Forgetting to iron can lead to a messy appearance.
FAQ
What type of fabric is best for a neckline transformation? Lightweight fabrics like cotton or jersey are easier to work with and drape well around the neckline.
Can I change the neckline of a store-bought garment? Yes, as long as you feel comfortable cutting and modifying the fabric, you can transform store-bought items.
How do I ensure my new neckline is even? Regularly check your measurements and use a ruler or curve tool to ensure accuracy as you cut.
Conclusion
By following these steps, you can easily transform your neckline into something that enhances your garment’s appeal. Consider trying different styles to create unique looks in your wardrobe. Which neckline transformation are you excited to try first?