15 Simple Steps to Downsize Any Neckline with This Genius Sewing Trick
15 Simple Steps to Downsize Any Neckline with This Genius Sewing Trick
- Introduction
- Required Materials
- Preparation Steps
- Sewing Techniques
- Common Mistakes to Avoid
- FAQ
- Conclusion
Introduction
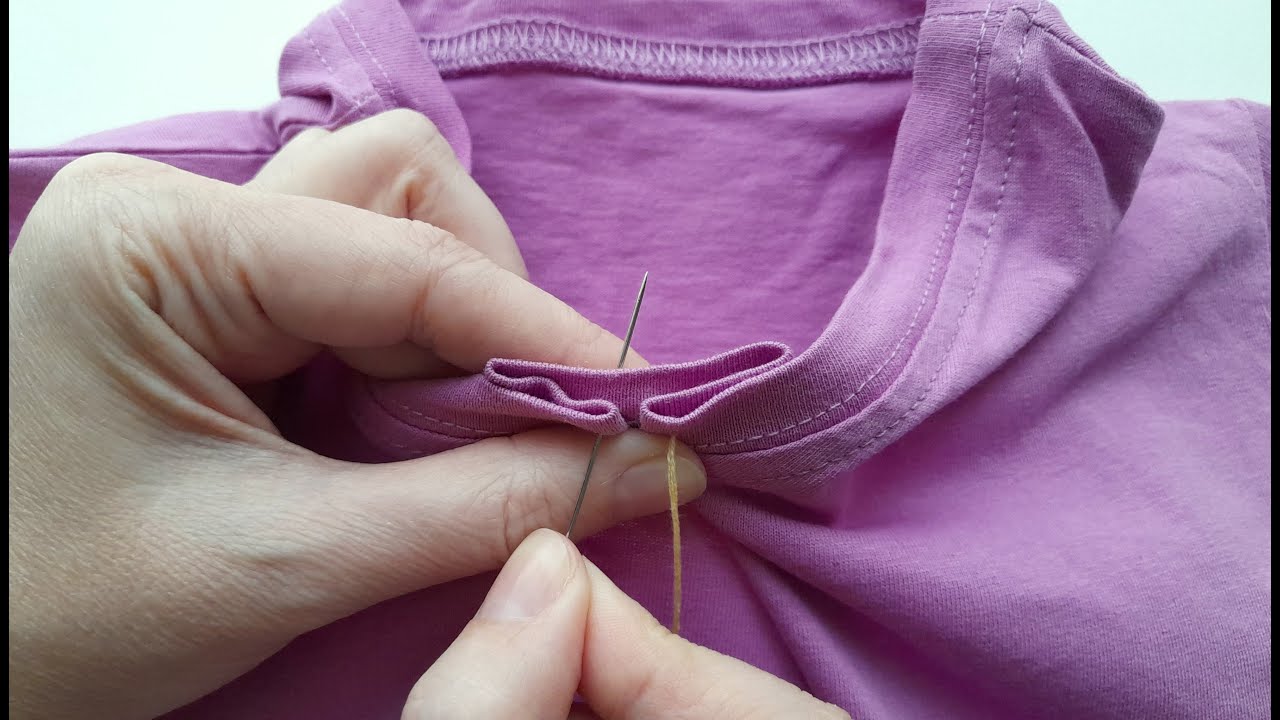
Have you ever bought a lovely top only to find that the neckline is a bit too loose or wide for your comfort? This common wardrobe dilemma can leave you feeling frustrated, especially when you want to wear your favorite pieces without feeling self-conscious. Fortunately, there’s a straightforward solution that can transform that top into a perfectly fitted garment. Read on to discover how simple adjustments can make a world of difference in your wardrobe.
Required Materials
Before diving into the sewing process, it’s essential to gather the right materials. Here’s what you need:
- Sewing machine
- Fabric scissors
- Pins or fabric clips
- Measuring tape
- Thread that matches your fabric
- Iron and ironing board
With these materials in hand, you’re ready to start adjusting that neckline for a more personalized fit.
Preparation Steps
Getting ready for your sewing project involves a few simple yet important steps to ensure the best results:
1. Measure the Neckline
Use a measuring tape to determine the original width of the neckline. This will help you decide how much to downsize.
2. Mark Your Measurements
Using chalk or a fabric marker, make markings on the fabric indicating the new desired neckline. Be precise and take your time with this step.
3. Pin the Fabric
Securely pin or clip the fabric along your markings to hold everything in place while you sew. This will prevent any shifting during the sewing process.
Sewing Techniques
Now that you’ve prepared your fabric, it’s time to start the actual sewing. Follow these techniques to downsize your neckline effectively:
1. Sew Along the Marked Line
Using your sewing machine, carefully sew along the line you marked earlier, ensuring to keep the fabric smooth. Use a regular straight stitch for a clean finish.
2. Trim the Excess Fabric
Once you’ve sewn the new neckline, gently trim any excess fabric around the seam to reduce bulk. Be careful not to cut too close to your stitching.
3. Finish the Edges
To prevent fraying, consider using a zigzag stitch or a serger along the edges of the new neckline. This step adds durability and a polished look.
4. Press the Neckline
Using an iron, press the neckline flat. This helps in setting the stitches and gives your garment a professional finish. Always use a pressing cloth to protect delicate fabrics.
Common Mistakes to Avoid
As with any sewing project, there are common pitfalls to be mindful of when downsizing a neckline:
- Not measuring accurately: Ensure that you take precise measurements before making cuts.
- Ignoring fabric types: Different fabrics behave differently. Always consider their unique properties when sewing.
- Skipping pressing: Neglecting to press can lead to a less polished appearance.
- Over-trimming: Be cautious when cutting excess fabric; always leave some for adjustments.
- Using the wrong thread: Match your thread carefully to avoid contrasting colors that may show in the seams.
FAQ
How do I know how much to downsize my neckline? Measure the original neckline and decide how snug you want it to be. A good rule of thumb is to reduce it by half to an inch, depending on style.
Can I downsize different types of necklines? Yes, this method can be applied to various necklines, including crewneck, V-neck, and boat neck styles.
What should I do if I make a mistake while sewing? Don’t worry! Carefully unpick the stitches using a seam ripper and start again from your marked line.
Conclusion
Downsizing a neckline can breathe new life into your wardrobe, allowing you to wear pieces you love confidently. With these simple steps, you can easily achieve a tailored fit. Have you tried adjusting a neckline before? Share your experiences in the comments below!