Save 1000% with These DIY Box Ideas That Look Stunning!
Transform Your Space with Stunning DIY Box Ideas
Introduction
Have you ever looked around your home and felt overwhelmed by clutter? It’s a common scenario for many, especially when all your belongings seem to have no designated space. Perhaps an old wooden crate or an unused cardboard box is lying around, waiting for a new life. You can easily transform plain boxes into beautiful storage solutions that enhance your home’s aesthetic while keeping it organized. Dive into these DIY box ideas to discover how you can bring style and function to your cluttered spaces.
Materials Needed
Before diving into your DIY project, gather the following materials:
- Old boxes (cardboard, wooden, or plastic)
- Paint or wallpaper for decoration
- Glue or adhesive tape
- Fabric or twine for finishing touches
- Optional: Stencils or decorative embellishments
Step-by-Step DIY Box Ideas
Here are a few practical DIY box ideas that not only save costs but also provide stunning results:
1. Painted Wooden Crate
Transform a simple wooden crate into a charming storage bin.
- Clean the crate to remove any dirt.
- Sand any rough edges for a smoother finish.
- Paint the crate in your chosen color and let it dry.
- Decorate with stencils or embellishments, if desired.
2. Upcycled Cardboard Box Storage
If you have an old cardboard box, you can create chic storage.
- Cut the box to your desired size, if necessary.
- Wrap the box in fabric or decorative paper using glue.
- Add handles made from twine by punching holes and tying knots.
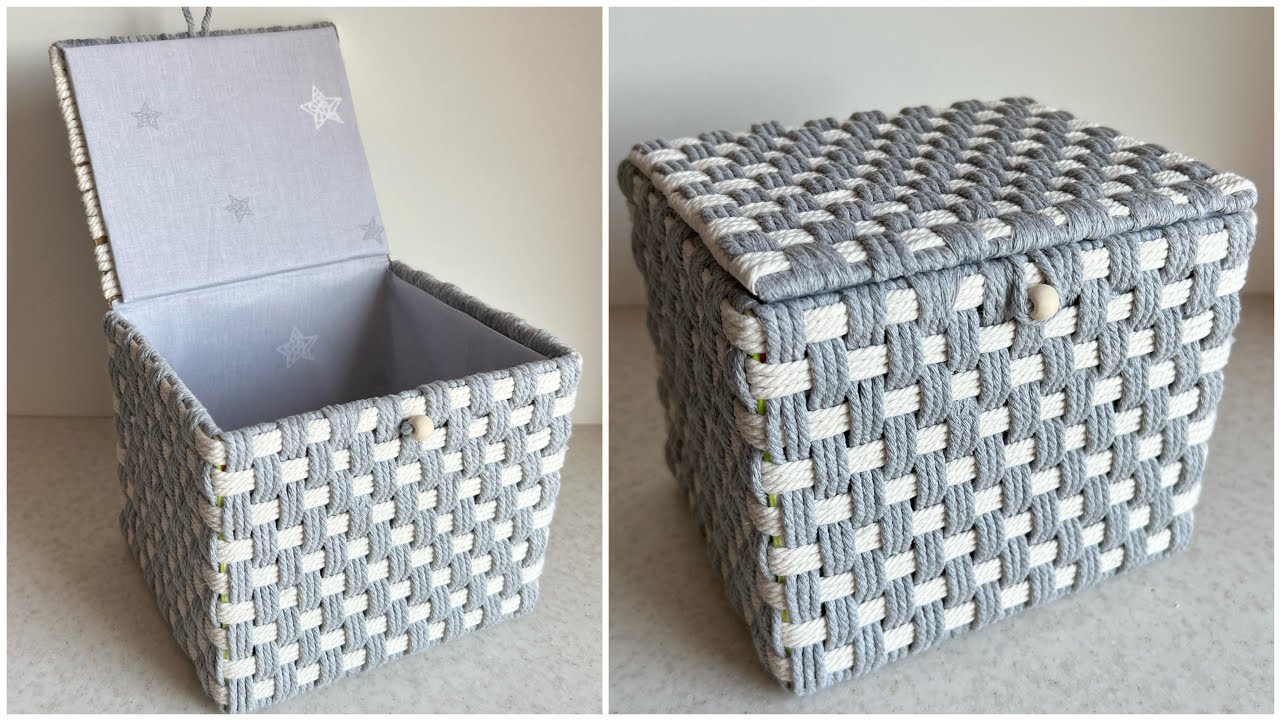
3. Decorative Basket from Twine
Create a stylish storage solution using twine and an old box.
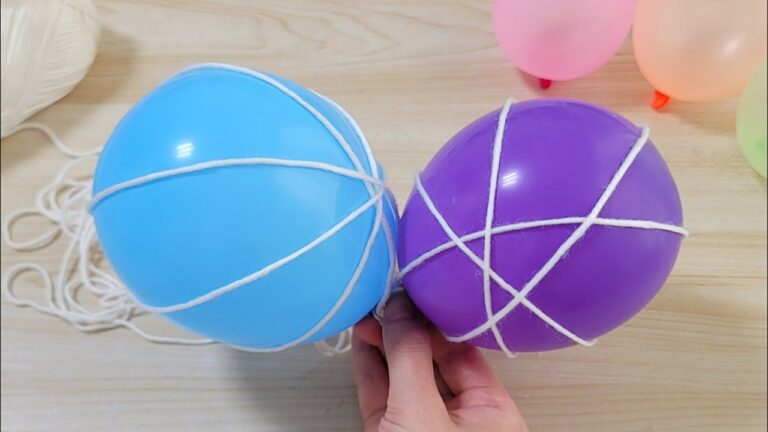
- Wrap twine around the entire box, using hot glue to secure the ends.
- Layer the twine until the box is fully covered.
- Finish off with a fabric lining for a soft touch.
4. Magazine Holder from an Old Shoe Box
Turn your shoe box into a trendy magazine holder.
- Cut one side of the box at an angle to create a slant.
- Paint or cover it with your choice of paper.
- Place it upright near your reading corner.
5. Multi-compartment Organizer
Make use of several smaller boxes to create an organizer.
- Arrange the boxes together using glue to create a grid.
- Paint for a cohesive look or cover with fabric.
- Label each compartment for easy identification.
Common Mistakes to Avoid
While tackling DIY projects, it’s easy to make a few common mistakes. Here are some to watch for:
- Rushing the drying time can affect the finish.
- Using the wrong type of paint for your box material.
- Neglecting to clean or prep your boxes thoroughly before starting.
- Overloading boxes beyond their intended use, leading to breakage.
- Not considering the placement of your boxes within your space.
FAQs
What type of paint is best for cardboard boxes? Acrylic paint works best for cardboard as it adheres well and dries quickly.
Can I waterproof a cardboard box for outdoor use? Yes, you can use waterproof sealant or spray after painting to protect it from moisture.
How do I strengthen a cardboard box for heavy items? Reinforce with additional layers of cardboard or use a stronger adhesive during the wrapping process.
Conclusion
Transforming ordinary boxes into beautiful storage options creates both visual appeal and practicality in your home. With these DIY box ideas, you can easily declutter and decorate at the same time. What will you create from your unused boxes? Share your thoughts in the comments below!