7 Simple Steps to Master Bathroom Water Pipe Installation Like a Pro!
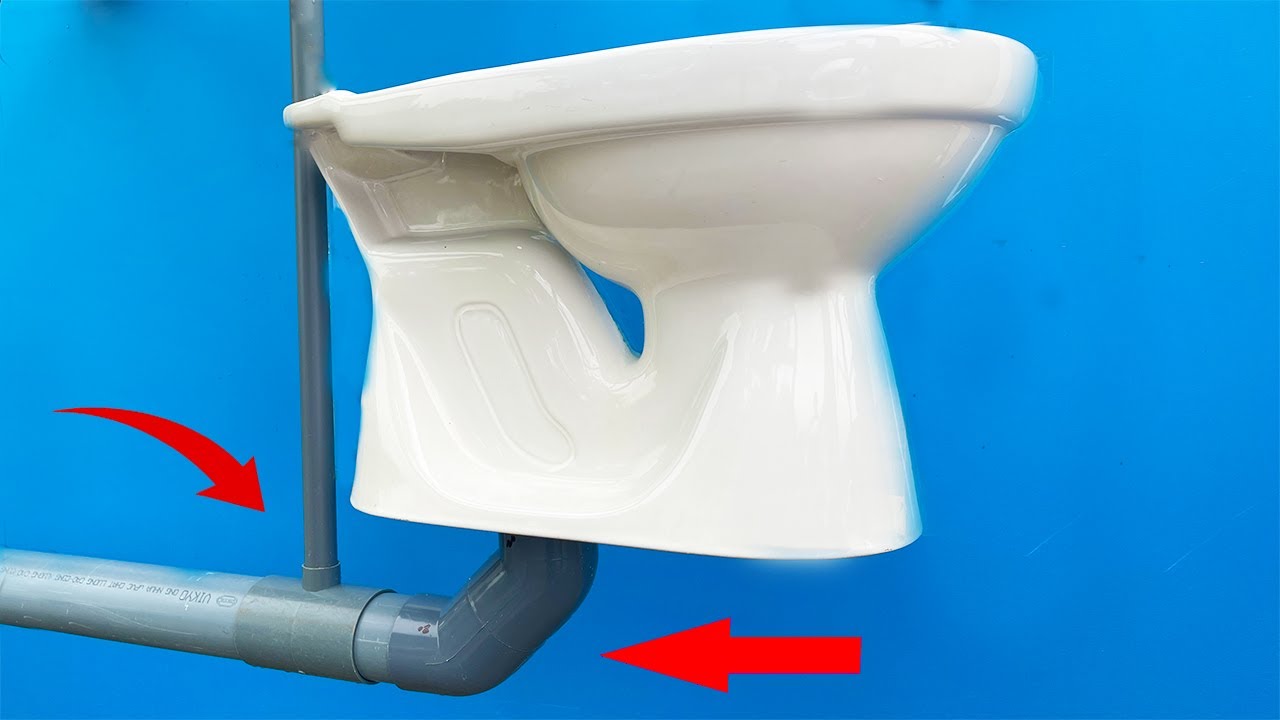
7 Essential Steps for Mastering Bathroom Water Pipe Installation
Introduction
When considering a DIY home project, tackling bathroom water pipe installation can feel both daunting and exciting. Maybe you’ve faced leaky pipes before, or you’re just looking to upgrade your fixtures. Ensuring everything is set up correctly is crucial for avoiding future repairs. The good news is that with the right guidance, you can navigate this process confidently. Let’s explore how to manage your bathroom water pipe installation seamlessly.
Required Materials
Before diving into the installation, gather the necessary tools and materials. This preparation will ensure a smoother process. Here’s what you’ll need:
- Water pipes (PVC or copper)
- Pipe fittings and connectors
- Pipe wrenches
- Pipe cutter (for PVC) or hacksaw (for copper)
- Tephlon tape for sealing threads
- Plumber’s glue (if using PVC)
- Measuring tape
- Safety goggles and gloves
Detailed Steps
Now that you have everything, it’s time to get to work. Follow these seven steps to achieve a successful installation:
- Turn off the water supply to your bathroom. This prevents any unexpected leaks during installation.
- Measure the area where the pipes will go. Use your measuring tape to determine lengths accurately.
- Cut the pipes according to your measurements. For PVC, use a proper pipe cutter; for copper, a hacksaw is best.
- Attach the fittings at the ends of the pipes. Use plumber’s glue for PVC or apply teflon tape for threaded copper connections to ensure a tight seal.
- Install the pipes in the intended layout. Ensure that the pipes are level and properly aligned.
- Secure the pipes using brackets or hangers to prevent movement and potential damage.
- Turn on the water supply slowly and check for leaks. Make sure all connections are secure before using the fixtures.
Practical Tips for a Smooth Installation
- Always wear safety goggles to protect your eyes from debris.
- Plan your installation layout beforehand to avoid unnecessary cuts.
- Keep a bucket handy to catch any residual water when working with pipes.
Common Mistakes to Avoid
Even seasoned DIYers can make mistakes. Here are some common pitfalls to watch out for during your bathroom water pipe installation:
- Neglecting to turn off the water supply before beginning.
- Using the wrong type of pipe for your bathroom setting.
- Forgetting to apply teflon tape or glue, which can lead to leaks later on.
- Measuring inaccurately, causing made cuts that are too long or too short.
- Failing to support pipes adequately, which can lead to sagging or damage over time.
FAQ
What type of pipes are best for bathroom installations?
PVC pipes are commonly used for their ease of handling and cost-effectiveness, while copper pipes are more durable and resistant to heat.
How do I prevent leaks in my connections?
Make sure to apply teflon tape or plumber’s glue properly and ensure all fittings are tightened securely.
Can I install water pipes on my own?
Yes, with the right tools and a good understanding of the steps involved, you can successfully install water pipes yourself.
Conclusion
Bathroom water pipe installation doesn’t have to be a daunting task. By following these steps and avoiding common mistakes, you can achieve a reliable setup. What challenges have you faced with plumbing projects? Share your experiences in the comments below!