Just one glass per week! The steps to know for a vigorous, flowering anthurium
Just one glass per week! The steps to know for a vigorous, flowering anthurium
An anthurium can bring color to a room for a long time, but its attractive appearance depends on more than a weekly drink. Glossy leaves and bright spathes are supported by roots that need both moisture and air. When flowering slows, the first useful step is to examine that balance rather than immediately prepare a stronger liquid feed.
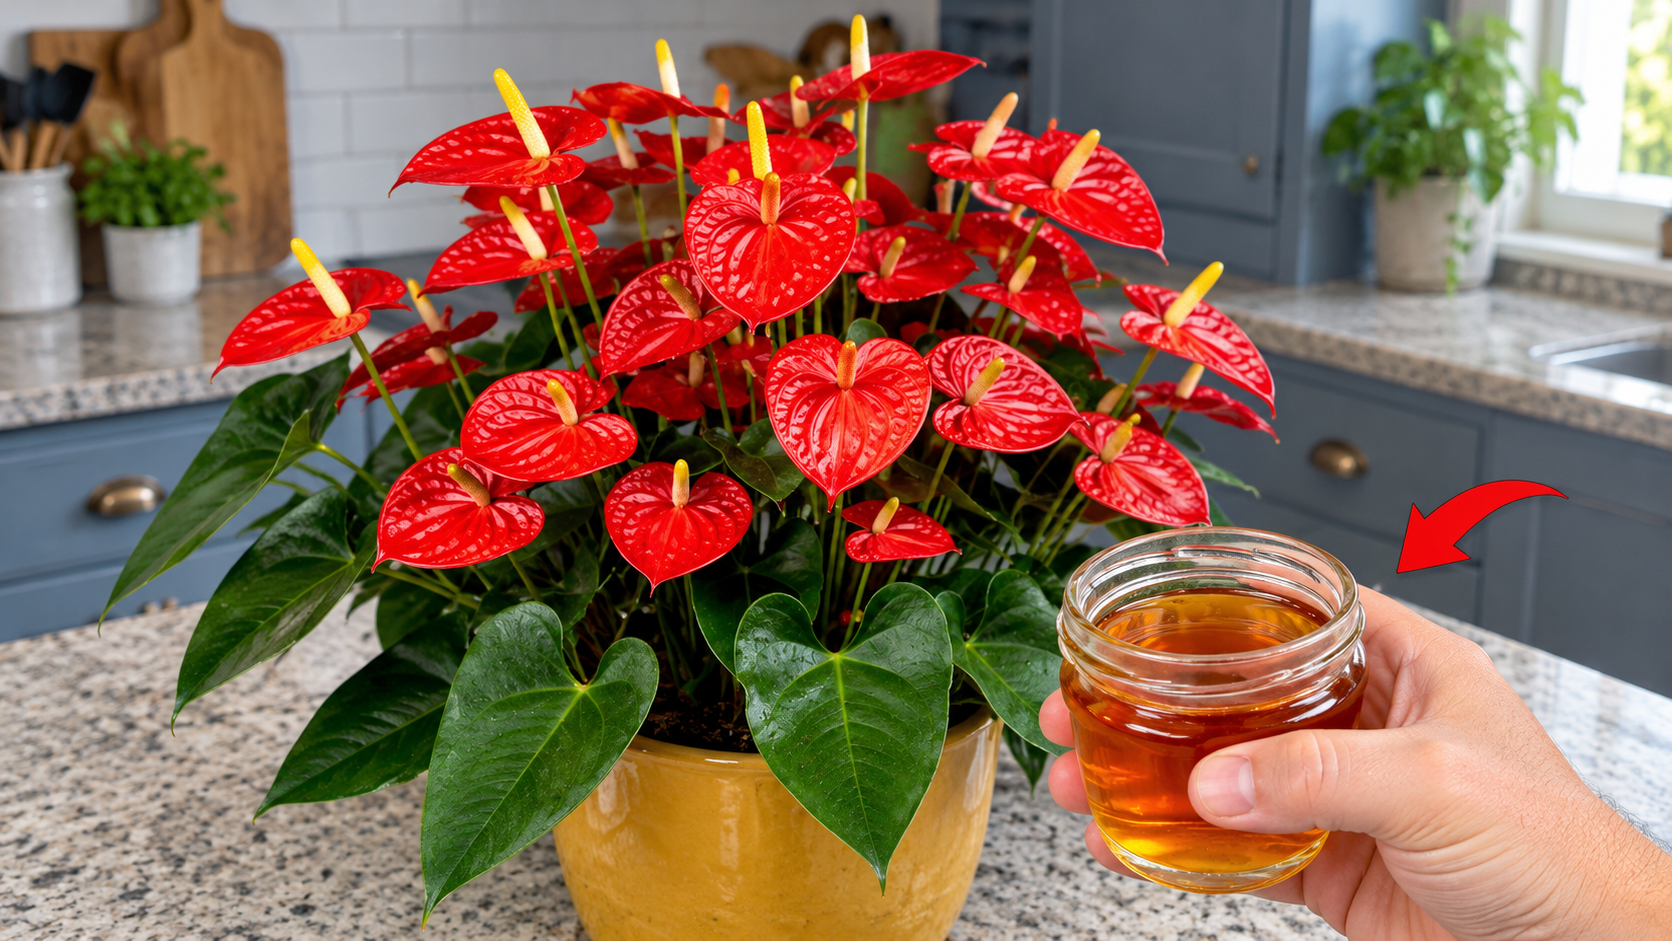
A glass of water can be part of a simple routine, provided the amount and timing fit the pot. Onion mixtures and other kitchen tonics are not necessary for success. With a suitable location, careful watering, and measured feeding during growth, you can support a healthy anthurium and understand what its leaves and flowers are telling you.
Identify the kind of anthurium you are growing
The anthuriums commonly sold with colorful heart-shaped spathes are generally grown for their flowering display. Other anthuriums are prized primarily for foliage and may have very different expectations. Check the label when available so you are not comparing a foliage species with a flowering hybrid from a store display.
The colorful part is a spathe, a modified leaf associated with the central spadix. Individual displays naturally age and eventually fade. A green or browning older spathe does not necessarily mean the entire plant is failing or that it urgently needs fertilizer.
Observe the plant’s overall pattern. New leaves, firm roots, and occasional fresh inflorescences are more useful indicators than whether every old spathe retains its original color. Take a photo when you begin adjusting care so later changes can be judged against a real baseline.
Give the root zone air as well as moisture
Lift the growing pot from its decorative container and check the bottom. Water that remains there after each watering can keep the lower roots excessively wet. Drainage holes only help when the water leaving them is not trapped around the container afterward.
Use an appropriate, well-aerated mix rather than a dense mass that remains saturated. The exact mix should suit the plant and your conditions, but its practical behavior matters more than an elaborate recipe. It should hold some moisture while allowing excess water to move through.
If repotting is needed, choose a container proportionate to the root ball. A large volume of wet mix around relatively few roots is harder to manage. Keep healthy roots intact and avoid burying the base too deeply. Repot to solve a specific problem, not simply because a flower has finished.
Replace automatic weekly watering with a quick check
Feel the upper part of the mix and learn the pot’s weight as it loses moisture. Water when the mix has begun to dry appropriately, rather than keeping it constantly soaked. The interval changes with light, temperature, pot size, and the structure of the medium.
A glass can help you pour slowly, but it does not define the plant’s requirement. A small anthurium and a large clump may need different amounts. Wet the root ball evenly, allow runoff, and empty the outer container. Avoid leaving the pot standing in a saucer of water.
Use water at approximately room temperature. Very cold water adds an unnecessary change for a tropical houseplant. If your water leaves heavy mineral deposits, consider an appropriate alternative source and review fertilizer use. Do not diagnose every brown leaf tip from water quality alone; several factors can contribute.
Choose bright light without scorching the leaves
Anthuriums need useful light to maintain growth and flowering. A dim position can reduce both. Evaluate the location during the day rather than relying on how bright the room feels under artificial lighting at night. A pot several feet from a window may receive far less light than expected.
Look for bright indirect light. Protect the leaves from strong direct sun through hot glass, especially if the plant has been growing in a shadier spot. Move it gradually and watch for pale, dry patches on the side nearest the window.
Avoid locations that combine good light with cold drafts or harsh heating. Leaves should not rest against cold panes. A stable position makes it easier to understand watering needs and gives developing growth a consistent environment. Repeated relocation is not a substitute for selecting one suitable place.
Understand why onion water is not a measured plant food
Blending an onion into water creates a mixture with an uncertain composition. The concentration varies with the onion, preparation, dilution, and storage. Its contents are not equivalent to a balanced fertilizer formulated and labeled for plant use.
There is no need to pour onion liquid into the mix, rub it over leaves, or spray it onto spathes as part of normal anthurium care. Food residues can remain on surfaces or change the pot environment. They also make it harder to separate the effects of ordinary watering from those of an unmeasured additive.
Keep the jobs separate. Use clean water for hydration, a damp cloth for dust, and appropriate fertilizer when feeding is justified. This approach is easier to repeat and evaluate. A healthy anthurium does not require a strong smell or a complicated homemade preparation around its roots.
Feed according to the product and the plant’s growth
During active growth, use a suitable fertilizer as directed on the package. Read the concentration and dilution instructions rather than borrowing a spoon measurement from a different product. Check whether the potting medium already contains fertilizer before adding another source.
Do not apply a strong solution to severely dry or damaged roots. Restore normal moisture management and assess the plant first. More fertilizer does not compensate for low light, prolonged waterlogging, or a root system that has begun to decline.
Keep a simple record of feeding dates. If white deposits accumulate or root tips deteriorate, review the entire routine instead of automatically increasing nutrition. Depending on the situation, reducing inputs and allowing clean water to drain through the mix may be more appropriate than another dose.
Keep foliage clean and protect developing flowers
Wipe dust from leaves using a soft, lightly dampened cloth. Support each leaf from beneath and avoid scrubbing the surface. Oil, milk, and polishing products are unnecessary. Use the opportunity to inspect leaf undersides and the points where new growth emerges.
Do not force open a tightly rolled young leaf or bend a developing flower stalk into position. Tender growth needs time to expand. If nearby objects are pressing against it, move the objects or adjust the plant’s spacing rather than pulling the new growth away.
When an old flower stalk is spent, remove it carefully with clean tools. Do not tear it from the base. Remove fallen plant debris from the pot surface as well. Keeping the area tidy improves visibility when checking for new growth or signs of a problem.
Read symptoms in context
A brown tip is a clue, not a complete diagnosis. Review recent drying, fertilizer concentration, humidity, and the location of the damage. If the newest leaves are healthy and older damage is not spreading, the plant may be responding well even though old marks remain visible.
Yellowing combined with a wet, heavy pot and soft tissue deserves closer attention to the roots. Conversely, a very light pot after prolonged neglect points toward a different issue. Always check the medium before treating drooping leaves as a request for more water.
Sticky residue, cottony patches, or visible insects call for identification. Separate a plant with a suspected pest problem from nearby houseplants while you investigate. Randomly combining sprays can damage foliage and obscure what originally happened. Clear photographs and a description of conditions help when seeking advice.
Build a routine that supports future flowering
At each regular check, inspect moisture, drainage, and the newest growth. Water or feed only when needed. Every few weeks, compare the plant with your earlier photo. A healthy new leaf and firm roots are meaningful progress before a fresh colorful spathe appears.
Adjust expectations after repotting or root damage. A recovering plant may invest in roots before flowering. There is no universal glass of liquid that guarantees a bloom every week. Consistent suitable conditions provide a foundation, while the plant’s variety and condition influence the timing.
Keep the plant out of reach of pets or children who may chew foliage, and wash your hands after pruning. Choose an accessible location so checking the inner pot remains easy. Practical placement makes a good routine far more likely to continue.
Questions about maintaining anthurium flowers
Should I mist the colorful spathes every day?
Daily spraying is not a requirement for flowering and does not repair root problems. Maintain a suitable room environment and avoid leaving surfaces persistently wet. Focus first on light, drainage, and measured watering.
Can old flowers become vivid again?
Aging displays will not regain their original appearance indefinitely. Enjoy them while attractive and remove spent stalks carefully. Judge future success by healthy new growth and new inflorescences rather than trying to reverse normal aging.
What is the most useful weekly habit?
Lift the inner pot and check it before pouring. This reveals hidden water, changing moisture needs, and early root-zone problems. A brief inspection turns a simple glass of water into a considered action rather than an automatic addition.
Further reading: North Carolina Extension, anthurium