Unlock 1001 Orchid Roots with This 1 Teaspoon Trick for Stunning Blooms!
Unlock Stunning Orchid Blooms with This Simple Teaspoon Trick
- Introduction
- Understanding Orchid Roots
- The Teaspoon Trick Explained
- Common Mistakes to Avoid
- FAQ
- Conclusion
Introduction
Have you ever gazed at your orchids, hoping to see them bloom beautifully but feeling disappointed when they don’t? Many orchid enthusiasts face this dilemma, often wondering what could be the key to vibrant blooms. The right care can make all the difference, and understanding how to nurture your orchids isn’t as complex as it seems. Keep reading to discover a practical solution that can lead you to stunning floral displays.
Understanding Orchid Roots
Orchids have unique growth habits, particularly with their roots. Recognizing how these roots function will enhance your ability to care for them effectively.
1. The Role of Roots in Orchid Health
Orchid roots serve several important functions:
- Absorption of Water: Roots are designed to absorb moisture from the air and surrounding medium.
- Nutrient Uptake: They help in taking up essential nutrients from the potting material.
- Oxygen Exchange: Air roots facilitate gas exchange, vital for the plant’s survival.
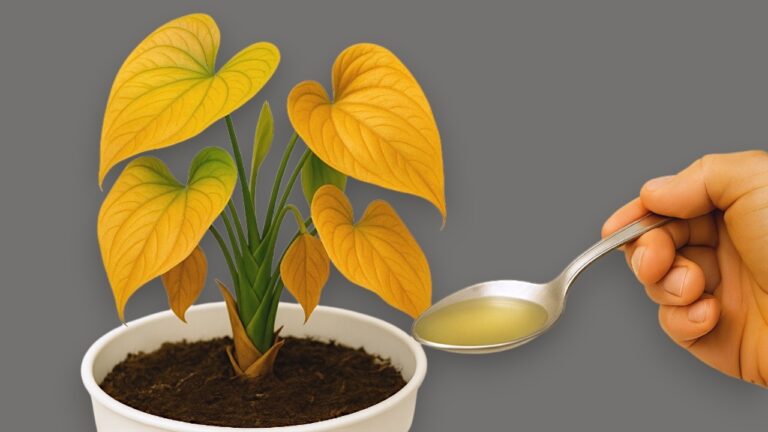
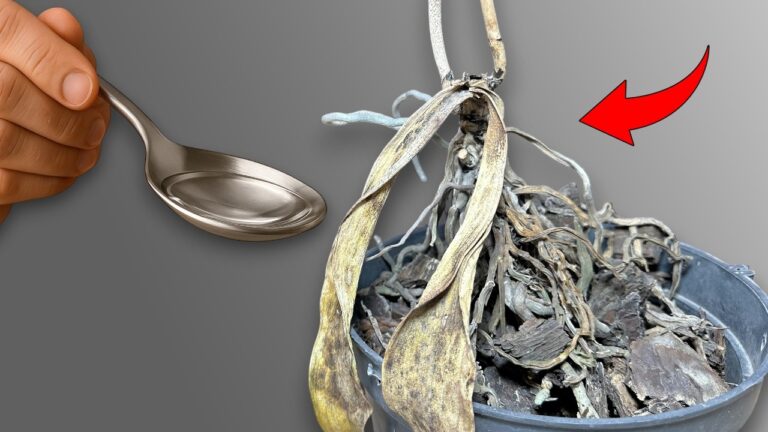
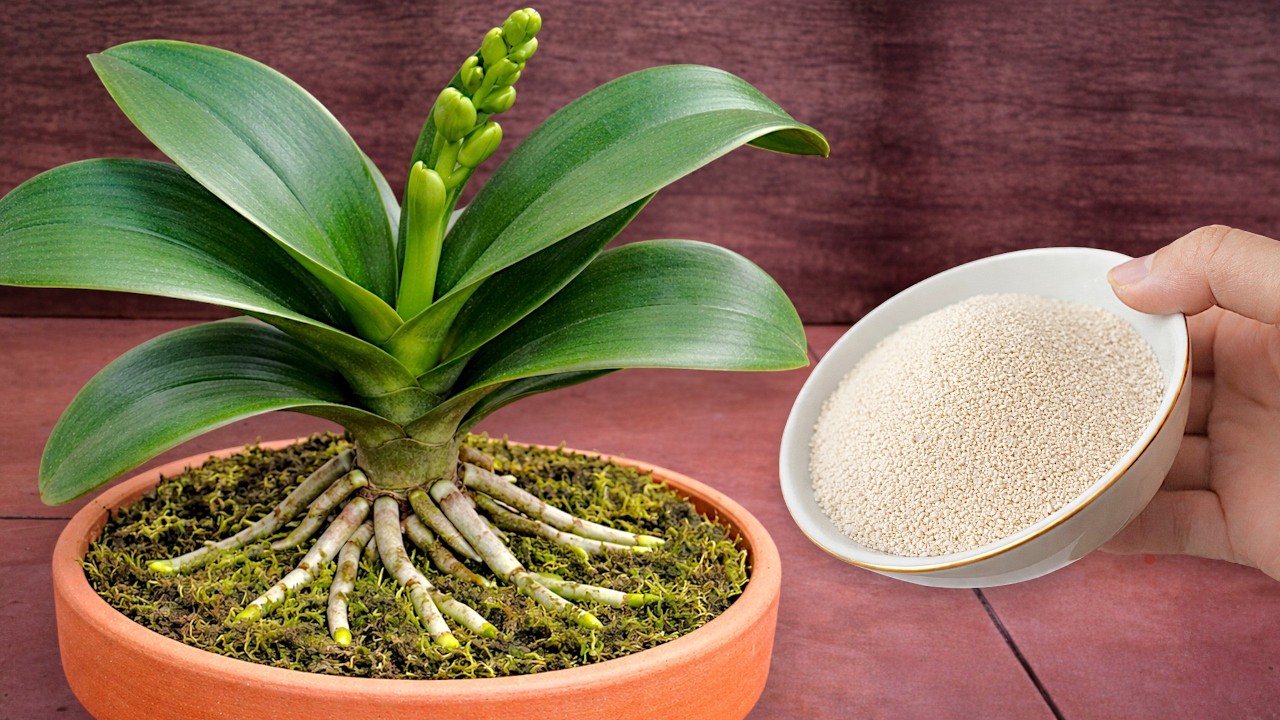
2. Characteristics of Healthy Roots
A healthy orchid root is typically firm to the touch and light green or silver in color. When roots are unhealthy, they may appear dark, mushy, or dried out, signaling that your orchid needs attention.
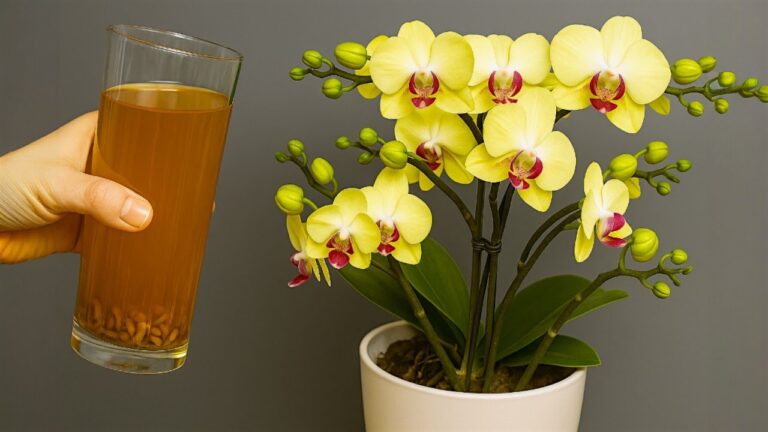
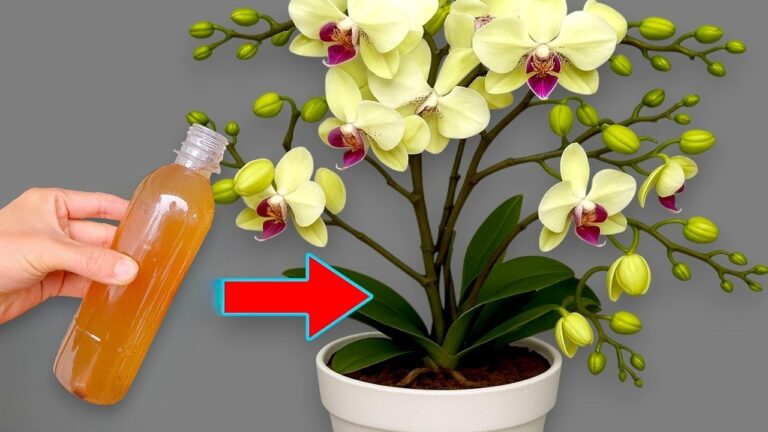
The Teaspoon Trick Explained
Using a teaspoon might sound simple, but it can dramatically improve your orchid’s blooming potential. Let’s break down how to implement this trick effectively.
1. Ingredients Needed
To utilize this method, you’ll need:
- 1 teaspoon of Epsom salt
- 1 gallon of water
- Your regular orchid fertilizer (optional)
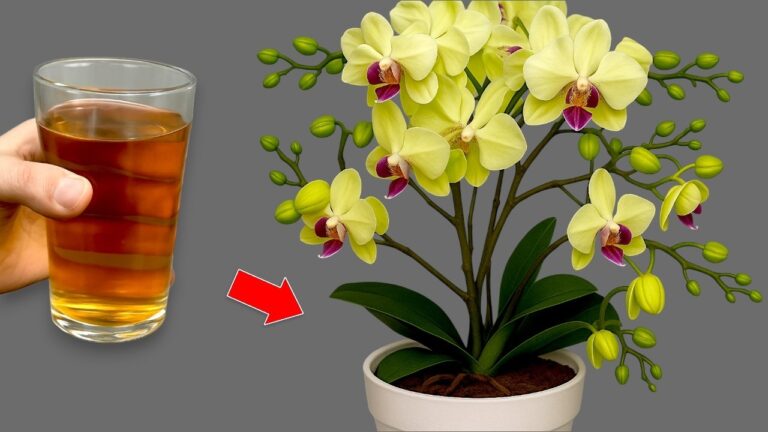
2. Application Steps
- Mix: In a container, combine 1 teaspoon of Epsom salt with 1 gallon of water until the salt dissolves completely.
- Water: Use this mixture instead of plain water on a bi-weekly basis.
- Observe: Keep an eye on your orchids for signs of new growth and blooms.
3. Benefits of the Teaspoon Trick
Using Epsom salt provides magnesium, which promotes photosynthesis and enhances overall plant health. This method can lead to richer blooms and more resilient flowers.
Common Mistakes to Avoid
Even the simplest techniques can be misapplied. Here are some common mistakes many make when caring for their orchids:
1. Over-Watering
Too much water can rot the roots, starving your orchid of oxygen. Ensure your potting medium dries out between waterings.
2. Ignoring Light Requirements
Orchids need bright, indirect light. Placing them in direct sunlight can scorch their leaves and stunt growth.
3. Using the Wrong Fertilizer
Some fertilizers contain high levels of chemicals that can harm your orchids. Always choose formulations meant specifically for orchids and use them sparingly.
FAQ
How often should I use the Epsom salt mixture?
It’s best to apply the Epsom salt solution every two weeks for optimal results.
Can I use regular table salt instead of Epsom salt?
No, table salt can be harmful to plants. Epsom salt provides essential magnesium, which is beneficial for orchids.
What signs indicate my orchid is healthy?
Healthy orchids will have vibrant green leaves, firm roots, and show new growth or blooms regularly.
Conclusion
By understanding the role of your orchid’s roots and how to properly use the teaspoon trick with Epsom salt, you pave the way for stunning blooms. What has been your experience with orchids? Share your journey in the comments below!