Unlock 1001 Orchids: The Secret to Instantly Rooting Your Plants!
Unlock the Secrets to Instantly Rooting Your Orchids
- Introduction
- Understanding Orchid Roots
- Best Methods for Rooting Orchids
- Common Mistakes to Avoid
- FAQ
Introduction
Have you ever admired the beauty of orchids but felt overwhelmed by their reputation for being difficult to care for? Perhaps you’ve tried propagating them, only to face disappointment when your efforts didn’t yield the desired results. This scenario is common among both novice and seasoned gardeners. The good news is that there are effective techniques to ensure strong, healthy roots for your orchids. Keep reading to discover practical tips that can turn your orchid roots into a thriving success!
Understanding Orchid Roots
Before diving into the methods for rooting your orchids, it’s essential to understand what makes these plants unique. Orchids are epiphytes, meaning they naturally grow on other plants without causing harm. Their roots have adapted to absorb moisture and nutrients from the air and environment. Here’s what you need to know:
1. Root Structure
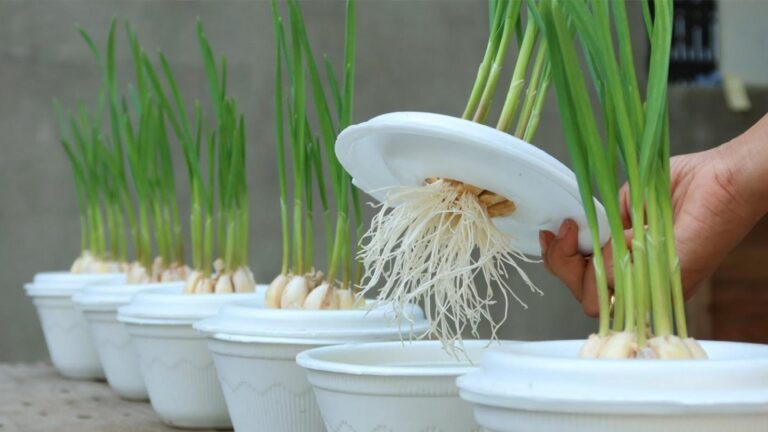
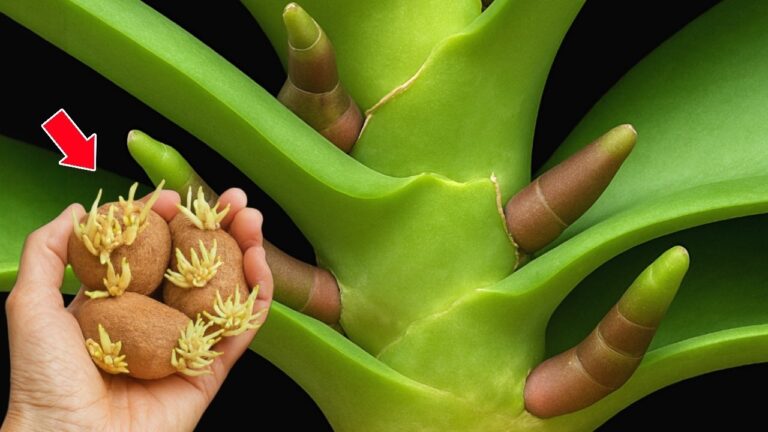
The root system of orchids consists of two main types: green roots and aerial roots. Green roots are usually thicker and can photosynthesize, absorbing light to produce energy. Meanwhile, aerial roots are more flexible and often manifest when the plant seeks moisture and nutrients.
2. Identifying Healthy Roots
Examining the health of your orchid roots is crucial prior to propagation. Healthy roots are generally firm and plump, while unhealthy ones tend to be brown and shriveled. This visual assessment can guide you in deciding which roots to use for rooting your orchids.
3. Ideal Conditions for Rooting
To promote healthy growth, orchids thrive in specific conditions. Ensure they receive the right amount of light, humidity, and airflow. Placing your orchids in a bright, indirect light spot can be beneficial for root development.
Best Methods for Rooting Orchids
Now that you understand the basics, let’s explore some effective methods for rooting your orchids.
1. Water Propagation
- Choose a healthy stem. Look for a healthy orchid stem with at least one node.
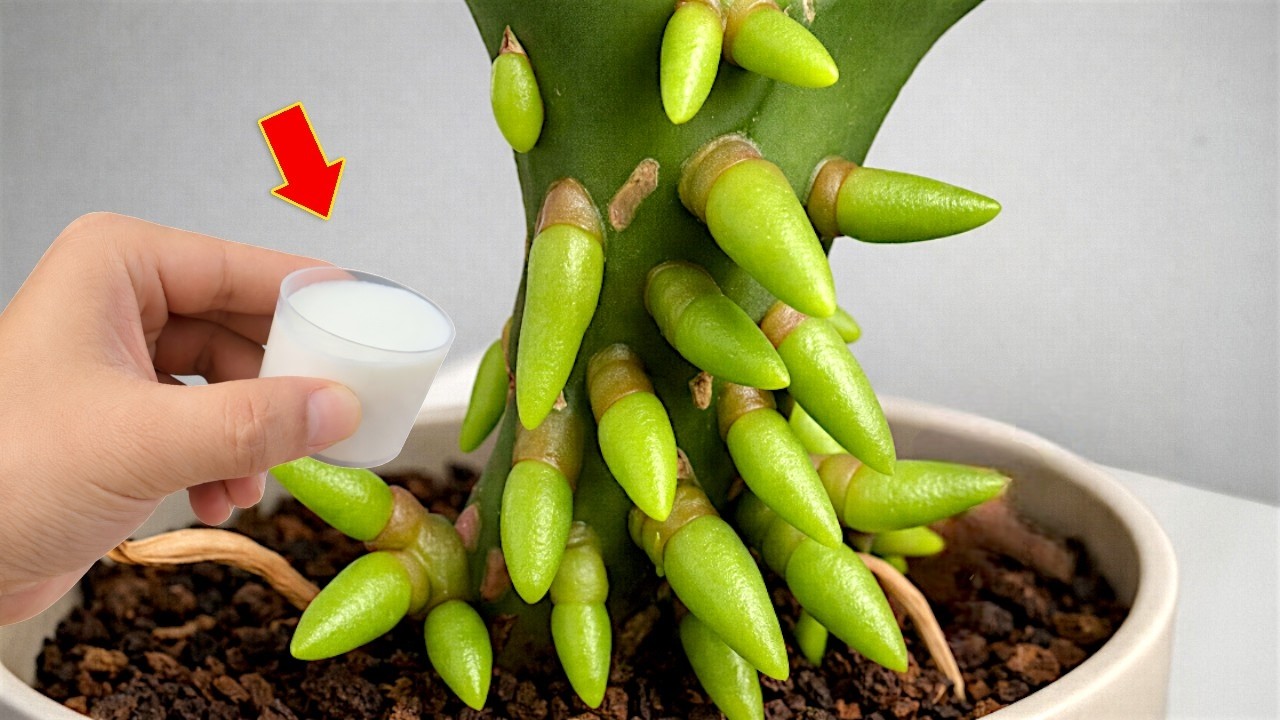
- Prepare your water source. Use distilled or rainwater to prevent chlorine damage.
- Submerge the node. Place the stem in water, ensuring the node is underwater but not the entire stem.
- Change the water regularly. Refresh the water every week to maintain cleanliness.
2. Sphagnum Moss Method
- Gather materials. You will need sphagnum moss, a plastic bag, and a healthy root.
- Moisten the moss. Soak the moss in water, then squeeze out excess moisture.
- Wrap the root. Place the moss around the root and secure it in a plastic bag to retain moisture.
- Check regularly. Open the bag occasionally to provide airflow, preventing mold.
3. Stem Cutting
- Cut below the node. Use sterilized scissors to cut the stem just below a node.
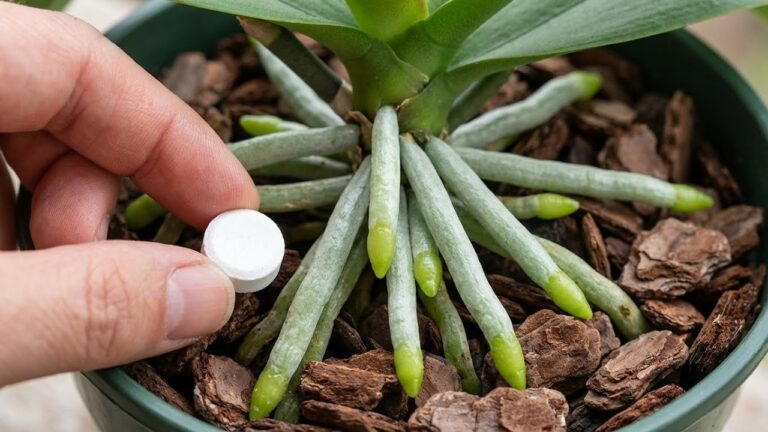
- Apply rooting hormone. Dip the cut end into rooting hormone to encourage growth.
- Plant in a suitable medium. Use a well-draining, orchid-specific potting mix for planting.
- Provide appropriate care. Keep the pot in a location with bright, indirect light and keep the medium slightly moist.
Common Mistakes to Avoid
While rooting orchids can be rewarding, it’s easy to make mistakes along the way. Here are some common pitfalls to avoid:
- Overwatering. It’s crucial not to keep the roots submerged in water for too long.
- Insufficient light. Orchids require bright, indirect light for optimal growth.
- Ignoring humidity levels. Orchids thrive in higher humidity, so consider misting or using a humidity tray.
- Using the wrong potting mix. Ensure you use a mix that allows proper drainage and air circulation.
- Neglecting temperature control. Keep your orchids in a stable environment to prevent shock.
FAQ
How long does it take to root orchids?
Rooting orchids can take anywhere from a few weeks to a few months, depending on the method used and plant conditions.
Can I propagate any type of orchid?
While most orchids can be propagated, some varieties, like hybrids, may be more challenging than others. Research your specific type for best results.
What should I do if my orchid roots are rotting?
If you identify rotten roots, carefully remove them and repot the orchid in fresh, sterile potting mix while ensuring proper care moving forward.
Conclusion
Rooting orchids requires specific techniques and attention to detail, but with the right methods, you can achieve vibrant results. What challenges have you faced while working with orchids? Share your thoughts in the comments below!