Transform 3 Metal Nuts into Stunning DIY Art You’ll Love!
Transform Metal Nuts into Stunning DIY Art
- Introduction
- Essential Materials
- Creative Ideas for DIY Art
- Step-by-Step Guide for Crafting
- Common Mistakes to Avoid
- FAQ
- Conclusion
Introduction
Have you ever looked at a handful of old metal nuts and wondered if they could become something beautiful? With a little creativity, these often-overlooked items can be transformed into stunning pieces of art that add charm to your home. Whether you want to create wall decor, a unique centerpiece, or a quirky garden decoration, you have the potential to turn ordinary materials into extraordinary decor. Read on to explore various ideas, and find out how to craft your own stunning DIY art using metal nuts.
Essential Materials
Before you embark on this artistic adventure, gather the necessary materials to set yourself up for success. Here’s what you’ll need:
- Metal nuts: Various sizes and shapes for different effects.
- Adhesive: A strong craft glue or hot glue gun works best.
- Paint: Choose vibrant colors or metallic shades to enhance your design.
- Wire or string: For hanging your creations or adding more texture.
- Base support: A canvas, wooden board, or even a flower pot to showcase your art.
With these essentials in hand, you’re ready to start crafting!
Creative Ideas for DIY Art
Your imagination is the limit when working with metal nuts. Here are some creative ideas to inspire your DIY projects:
- Wall Art: Create a stunning arrangement by gluing metal nuts onto a canvas or wooden board. Paint them in gradients or eye-catching patterns for added flair.
- Candle Holders: Stack metal nuts into a tower and secure them together. Paint them in colors matching your decor, then place a small candle on top for a charming glow.
- Garden Decor: Use nuts to make unique plant markers or whimsical garden sculptures. Pair them with natural elements like stones or driftwood for a rustic touch.
Step-by-Step Guide for Crafting
1. Choose Your Design
Start by selecting the type of project you want to create. Sketching your ideas can help visualize the final product.
2. Prepare Your Base
If you’re making wall art, lay out your canvas or wooden board. For other projects, ensure your base support is clean and ready.
3. Arrange the Nuts
Before gluing, arrange the nuts on your base in various patterns or designs until you’re satisfied. This will allow you to see how they work together without committing to glue right away.
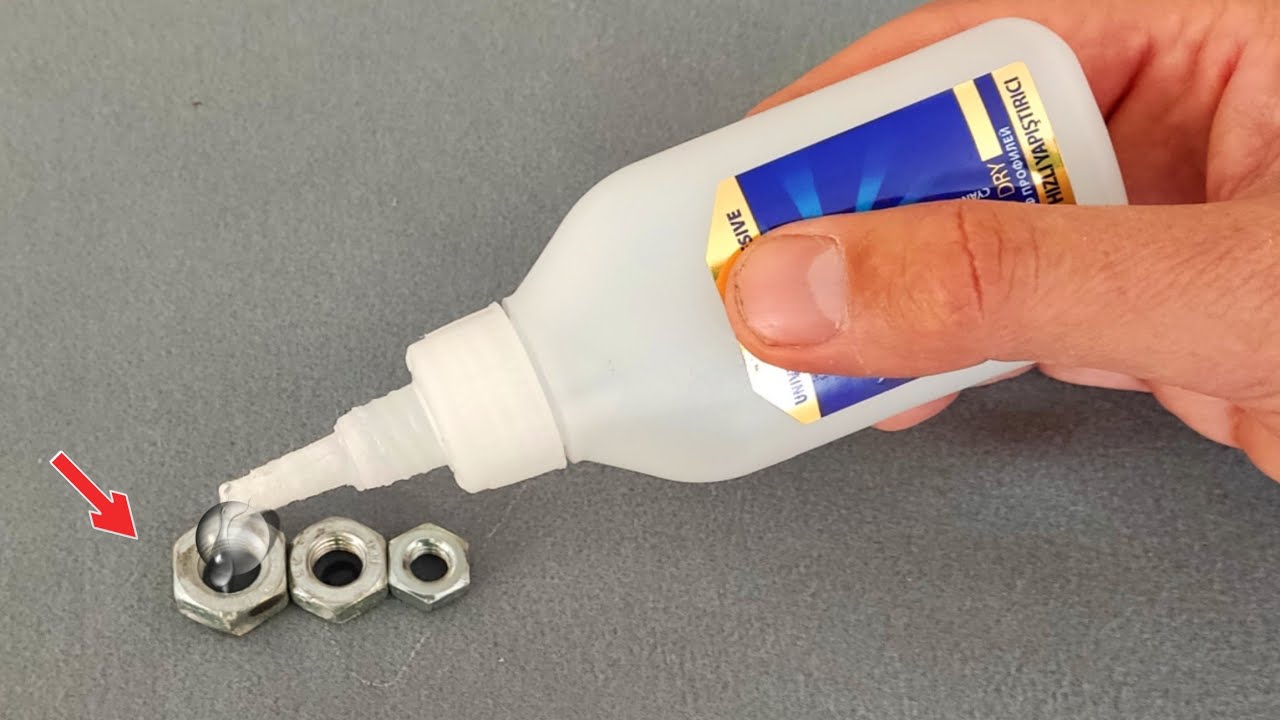
4. Secure the Nuts
- Apply glue: Once you have your arrangement, carefully apply glue to the base of each nut.
- Press firmly: Hold each one in place for a few seconds to ensure they adhere well.
- Let it dry: Allow your creation to dry completely before moving on to painting.
5. Paint Your Art
Use a brush or spray paint to add color to your nuts. If you want a textured look, consider using a sponge for dabbing paint.
Common Mistakes to Avoid
Even the most experienced crafters make mistakes. Here are some common pitfalls and how to avoid them:
- Skipping the arrangement step: Not planning your design can lead to a messy final product.
- Using low-quality glue: A weak adhesive may fail, causing pieces to fall off.
- Applying too much paint: Over-painting can obscure the design and detail of your project.
- Neglecting the drying time: Rushing to touch or move your art can ruin your hard work.
FAQ
What tools do I need for this DIY project?
Aside from the materials, you will need basic crafting tools like scissors, a glue gun, and a paintbrush or spray paint.
How can I personalize my metal nut art?
You can personalize your projects by choosing specific colors that match your decor, adding embellishments like beads or ribbons, or combining them with other materials.
Can I use rusty nuts for my projects?
Rusty nuts can add a rustic charm, but ensure they’re clean and safe to handle before use. Seal them properly if you’re using them outdoors.
Conclusion
Transforming metal nuts into stunning DIY art pieces is not only creative but also an excellent way to recycle materials. With simple tools and a bit of imagination, you can create unique decor that reflects your personal style. What project are you excited to tackle first? Feel free to share your ideas and experiences in the comments!