3 Genius Handyman Tricks You Need to Try Today for Home Improvement!
3 Essential Handyman Tricks for Home Improvement
- Trick One: Use a Toothpaste Cap for Measuring
- Trick Two: Create a Level Line with a Simple Tool
- Trick Three: Use Rubber Bands for Extra Grip
- Common Mistakes to Avoid
- FAQ
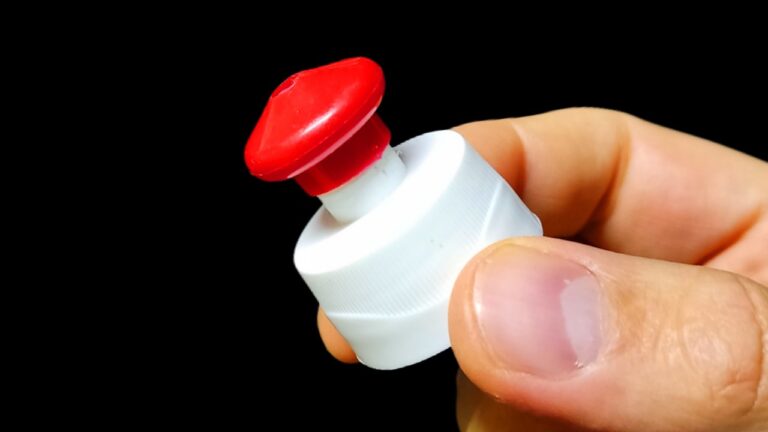
Trick One: Use a Toothpaste Cap for Measuring
Have you ever found yourself in the middle of a DIY project and realized you need to measure something but don’t have the right tool on hand? This scenario often leads to frustration. However, a simple toothpaste cap can come to your rescue. Continue reading to discover more about this handy trick.
1. Benefits of Using a Cap
Toothpaste caps typically have a consistent diameter, making them a reliable measuring tool. They can be useful for tasks like measuring nails or screws, allowing for quick estimates without a tape measure.
2. How to Utilize It
- Find a toothpaste cap from any brand; most caps are the same size.
- Use it as a benchmark for spacing items like nails on a wall.
- Mark the space where you need the next item to go.
3. Practical Tips
Keep a few caps in your toolbox for future projects. You can even label them for specific uses, enhancing your overall efficiency when tackling home projects.
Trick Two: Create a Level Line with a Simple Tool
When hanging frames or shelves, achieving a level line is critical. Many people struggle with this and end up with crooked displays. Instead of relying solely on a traditional level, here’s an alternate method that can lead to better results.
1. Materials Needed
You’ll need a string, a thumbtack, and a weight (like a washer). This method allows you to create a straight line easily!
2. Steps to Follow
- Pierce the wall with the thumbtack at the point where you want to begin.
- Attach the string to the thumbtack and let it hang down, securing the end with your weight.
- Check if the string is perfectly vertical; this will be your guide for hanging.
3. Personalization Ideas
Feel free to add decorative elements, like colorful strings or weights, to enhance the aesthetic of your DIY project while still maintaining functionality. This approach keeps your space not only level but visually appealing too.
Trick Three: Use Rubber Bands for Extra Grip
1. Benefits of Rubber Bands
Rubber bands increase friction, making it easier to grip objects that are hard to handle. This can be especially useful in the kitchen, workshop, or garage.
2. Practical Applications
- Wrap a rubber band around the lid of a jar to improve your grip when opening.
- Place a rubber band around a screwdriver handle for reinforced handling.
- Use rubber bands for added grip on any item that needs more traction.
3. Storage Tips
Store a few rubber bands in your toolbox or drawer for easy access. You might also want to keep various sizes handy to tackle different tasks effectively.
Common Mistakes to Avoid
Even the simplest tricks can be ineffective if not done correctly. Here are some common mistakes to steer clear of:
- Not checking the accuracy of your measurements before proceeding.
- Using old or worn-out rubber bands that may not provide adequate grip.
- Neglecting to secure your tools properly, which can lead to accidents.
- Ignoring safety precautions when using sharp tools or heavy objects.
FAQ
What tools do I need for these handyman tricks?
Minimal tools are required: a toothpaste cap, string, thumbtack, rubber bands, and a weight like a washer.
How do I ensure accuracy with a DIY measuring tool?
Always double-check your measurements and alignments, and use reliable reference points whenever possible.
Can these tricks be used for all home improvement tasks?
While not universal, these tricks can significantly assist in many common DIY projects and home repairs.
Conclusion
By incorporating these handyman tricks into your DIY toolkit, you can streamline your home improvement tasks. Have you tried any of these techniques before, or do you have your own favorite tricks to share? Your insights could inspire others!