3 Genius Handyman Tricks You Need to Try Today!
3 Essential Handyman Tricks to Enhance Your DIY Skills
- Trick One: Easy Wall Repair
- Trick Two: Quick Furniture Fixes
- Trick Three: Efficient Organizing
- Common Mistakes to Avoid
- FAQ
Have you ever tackled a DIY project only to realize that things didn’t go as smoothly as you had hoped? Whether you’re working on wall repairs, furniture fixes, or organization challenges, a few handy tricks can make all the difference. These skills not only save you time but also improve the quality of your results. Keep reading to discover some simple techniques that can transform your approach to home projects.
Trick One: Easy Wall Repair
Repairing walls can be a daunting task, but with the right approach, it becomes much simpler. Whether you’re dealing with minor dents or larger holes, here are some effective strategies.
1. Gather Your Materials
- Spackle or joint compound
- Putty knife
- Sandpaper
- Primer and paint
2. Prepare the Area
- Clean the damaged surface to ensure proper adhesion.
- Apply a layer of spackle using the putty knife. Smooth it out across the damaged area.
- Allow it to dry completely before proceeding.
3. Finish the Repair
Once the spackle is dry, use sandpaper to smooth the surface. After that, apply primer and paint to blend it seamlessly with the rest of your wall.
Trick Two: Quick Furniture Fixes
Furniture can suffer from scratches and wobbly legs over time. Luckily, you can implement a few quick fixes to extend its lifespan.
1. Tackle Scratches
For wooden furniture, a simple solution is to use a walnut. Rub a half walnut over the scratched area; the natural oils will help to fill in the scratch.
2. Strengthen Wobbly Legs
- Check the screws and bolts of your furniture. Tighten any loose joints.
- Use furniture coasters to stabilize the legs if they are uneven.
3. Restore Shine
A blend of olive oil and vinegar can work wonders. Mix them in equal parts and apply to the surface with a soft cloth to restore the shine.
Trick Three: Efficient Organizing
Keeping your workspace and home organized doesn’t have to be a challenge. With a few clever strategies, you can maintain order and maximize efficiency.
1. Use Clear Bins
Invest in clear storage bins to keep items visible and accessible. Label each bin for easy identification.
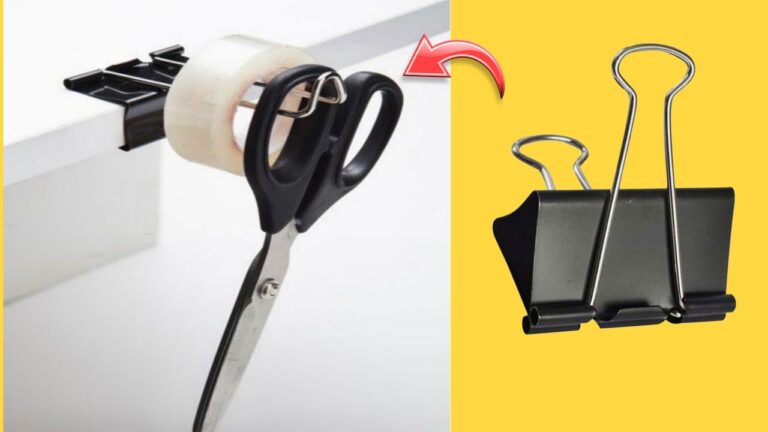
2. Implement Magnetic Strips
Attach magnetic strips to the wall in your workshop or kitchen to hold metal tools such as scissors and screwdrivers. This keeps them handy and off your work surface.
3. Create a Pegboard Wall
A pegboard is a great way to store and organize tools effectively. You can customize the layout based on your tools and needs, allowing for easy access and visibility.
Common Mistakes to Avoid
When embarking on DIY projects, it’s easy to overlook important steps. Here are some mistakes to watch out for:
- Skipping surface preparation before repair work.
- Not choosing the right type of paint or primer.
- Overloading shelves or furniture without ensuring stability.
- Using improper tools for the task at hand.
- Neglecting safety precautions while working on projects.
FAQ
What tools do I need for basic home repairs?
Essential tools include a hammer, screwdriver set, measuring tape, pliers, and a utility knife. Having these on hand will make most repairs much easier.
How can I prevent my furniture from scratching?
Use coasters under items and consider applying a protective finish on the furniture to reduce wear. Regular maintenance can also help keep your furniture in top shape.
What’s the best way to organize my garage?
Start by decluttering and categorizing items. Use shelves, bins, and hooks to keep tools and supplies organized and accessible. Labeling can also improve efficiency.
By incorporating these essential handyman tricks into your DIY toolkit, you’ll find that common household challenges become much more manageable. What DIY tricks do you use to tackle projects around your home? Share your experiences in the comments below!