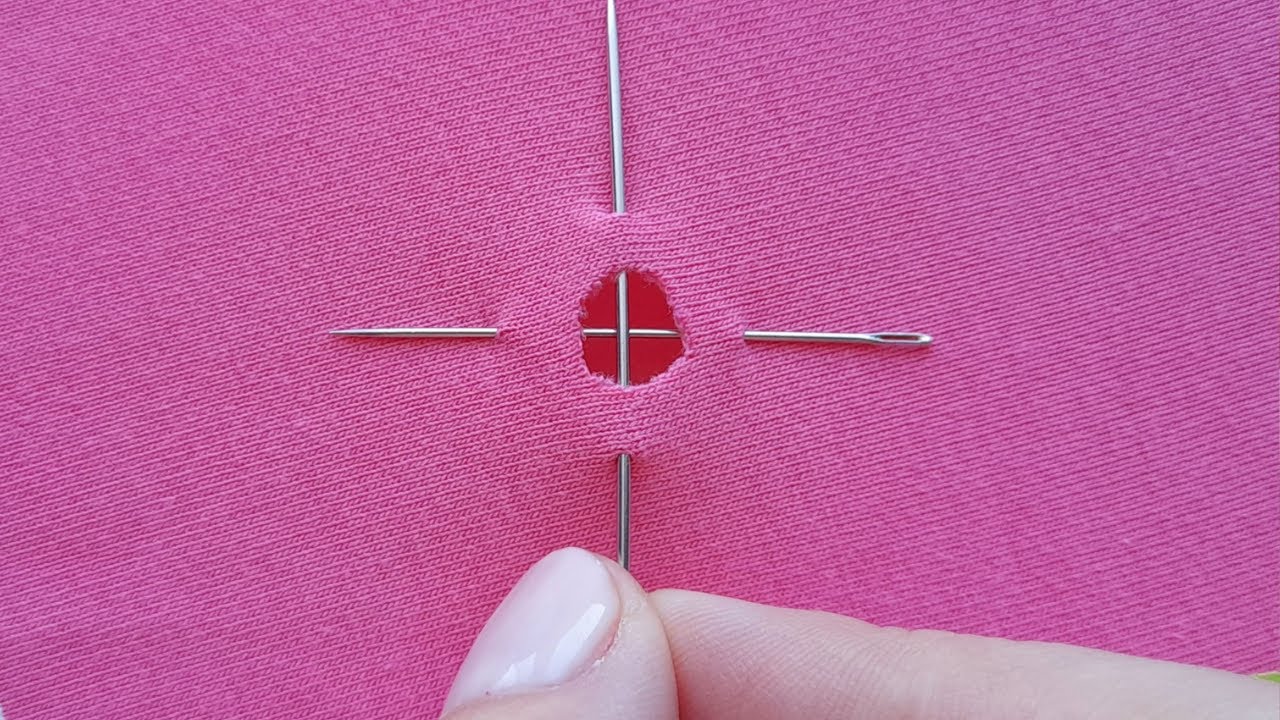
7 Genius Ways to Transform Holes into Stunning Art You’ll Want to Try!
7 Creative Ways to Transform Holes into Stunning Art
- Introduction
- Unique Materials to Use
- Techniques for Transformation
- Design Ideas for Inspiration
- Common Mistakes to Avoid
- FAQ
- Conclusion
Introduction
Have you ever been frustrated by those unexpected holes in your walls, furniture, or outdoor spaces? Instead of seeing them as imperfections, consider them as blank canvases waiting for your artistic touch. Transforming these blemishes into beautiful artworks can not only enhance your space but also unleash your creativity. This guide offers various methods and ideas to inspire you as you embark on this unique project. Let’s explore these creative solutions!
Unique Materials to Use
Choosing the right materials can make all the difference in your project. Here are some options that can elevate your artwork:
1. Recycled Items
- Old fabric scraps
- Plastic bottle caps
- Broken tiles or glass
Using these materials not only adds character to your final piece but also promotes sustainability.
2. Natural Elements
- Stones and pebbles
- Dry leaves and flowers
- Wood slices
Integrating nature into your art connects it to the environment and brings warmth to your design.
3. Paints and Dyes
Pick non-toxic paints to brighten up your creation. You can even use natural dyes from fruits or vegetables for a unique touch.
Techniques for Transformation
Now that you have your materials, let’s dive into some popular techniques that you can use to bring your vision to life:
1. Collage
Create a collage around the hole using your recycled items. Mix and match shapes, colors, and textures to create an eye-catching display.
2. Mosaic
Utilize pieces of broken tiles or glass to fill the hole. This technique creates a stunning visual effect and can be customized to complement your decor.
3. Nature-Inspired Arrangements
Arrange natural elements such as stones and leaves around the hole to give it an organic feel. This method is perfect for outdoor spaces or natural-themed rooms.
Design Ideas for Inspiration
Feeling stuck? Here are some innovative design concepts to inspire your project:
1. Floral Motifs
- Create a floral pattern using dried flowers or fabric.
- Paint vibrant flowers radiating from the hole.
2. Geometric Shapes
- Use painted wooden blocks to form geometric patterns.
- Create a mosaic with squares and triangles around the hole.
3. Whimsical Characters
Transform the hole into the mouth of a friendly creature, or design it as part of a whimsical scene. This is especially fun for children’s play areas.
Common Mistakes to Avoid
While embarking on your creative adventure, it’s easy to overlook certain aspects. Here are some common pitfalls to watch out for:
1. Not Planning Your Design
Before getting started, take some time to sketch or plan your design. This will help avoid confusion and ensure a cohesive look.
2. Overloading with Materials
Too many elements can create a chaotic appearance. Focus on a few key materials for a more polished result.
3. Ignoring the Space’s Overall Aesthetic
Consider how your artwork will fit with existing decor. Choose colors and materials that complement your space to enhance its beauty.
FAQ
How do I prepare the area around the hole? Start by cleaning the area to ensure that your materials stick well. If needed, fill larger holes with an appropriate filler and allow it to dry.
What if I change my mind about the design? Most materials can be removed or repainted. Just be gentle to avoid damaging the surface underneath.
Can I do this project with children? Yes, this is a great family activity! Just make sure to supervise and use safe materials, especially with younger kids.
Conclusion
Transforming holes into stunning art can breathe new life into your space while sparking joy and creativity. With a little imagination and the right materials, you can create something truly special. What ideas are you excited to try out in your own home? Share your thoughts in the comments below!