7 Simple Steps to Grow Mushrooms in Plastic Bottles at Home
Simple Steps to Grow Mushrooms in Plastic Bottles at Home
Introduction
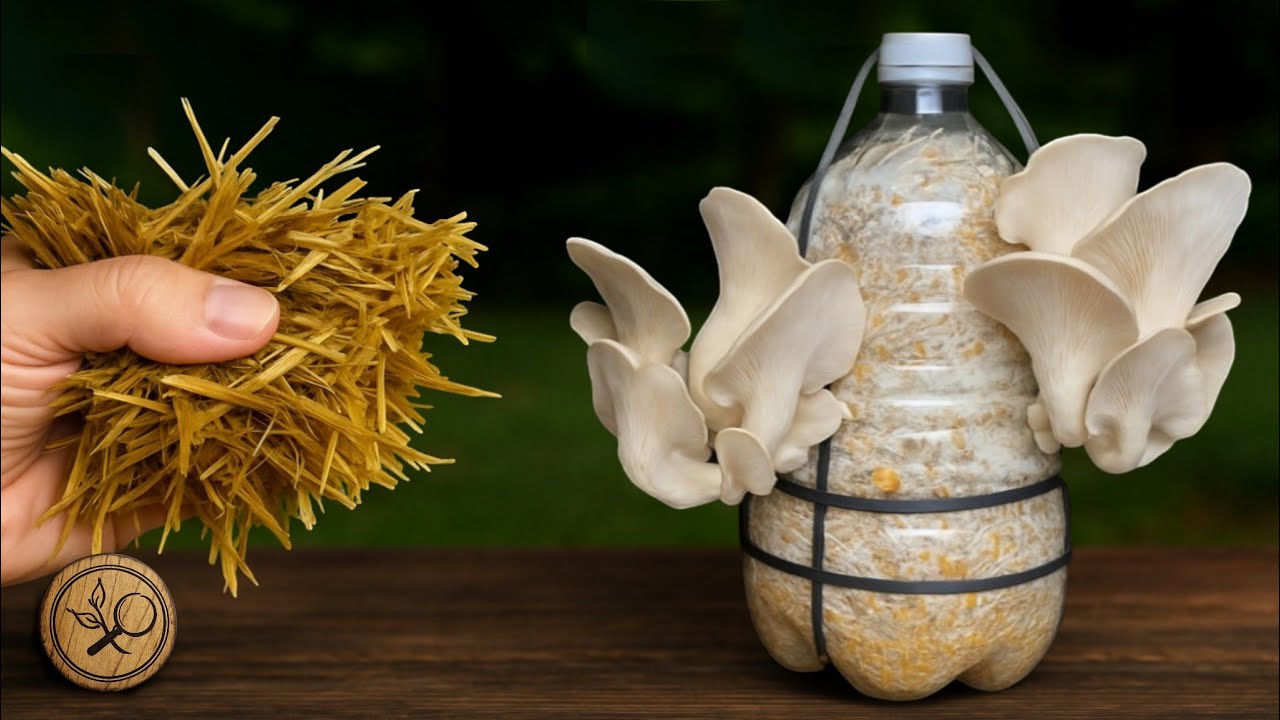
If you’ve ever noticed that unused plastic bottles are piling up in your home, you might be thinking about how to creatively put them to good use. Instead of tossing them into recycling, you can transform these bottles into mini ecosystems to grow your own mushrooms. Not only does this project provide a sustainable way to recycle, but it also brings the joy of cultivating your own food right to your kitchen. Let’s explore how you can achieve this without any complex tools or gardening experience.
Required Materials
Before diving into the process, you’ll need to gather a few essential items to ensure you have everything on hand. Here’s what you’ll need:
- Plastic bottles (2-liter or 1-liter)
- Mushroom spores or spawn (oyster or shiitake are great options)
- Pasteurized substrate (straw, coffee grounds, or sawdust)
- A pair of scissors or a knife
- A spray bottle filled with water
- Plastic wrap or a breathable lid
Step-by-Step Guide
Now that you have your materials ready, follow this step-by-step guide to successfully grow mushrooms in your plastic bottles.
1. Prepare the Bottles
- Cut the plastic bottles in half. Save the top part for later.
- Clean the bottle halves thoroughly to remove any residue.
2. Mix the Substrate
In a clean container, combine your pasteurized substrate with the mushroom spores or spawn. This mixture is crucial for healthy growth.
3. Fill the Bottles
- Pack the substrate mixture tightly into the bottom half of each bottle.
- Leave some space at the top for air circulation.
4. Cover the Bottles
Place the top half of the bottle back on or use plastic wrap to cover the filled part. This helps maintain moisture while allowing some airflow.
5. Maintain Moisture
Using your spray bottle, mist the substrate lightly every day to keep it humid, but avoid oversaturation.
6. Find the Right Spot
Position your bottles in a warm area out of direct sunlight, as mushrooms prefer indirect light conditions.
7. Harvest Your Mushrooms
After a few weeks, watch for the mushrooms to begin forming. Once they reach about 2-3 inches in height, cut them at the base and enjoy!
Common Mistakes
While growing mushrooms at home can be rewarding, there are some common pitfalls to watch out for:
- Using unclean bottles or substrates can introduce harmful bacteria.
- Over or under misting can lead to poor growth or rot.
- Exposing the mushrooms to direct sunlight can hinder their development.
- Using fresh, untreated substrates may not provide the necessary nutrients for growth.
- Neglecting to monitor the temperature and humidity levels can result in failure.
FAQ
Can I use any type of plastic bottle?
Yes, as long as they are clean and have a sufficient opening for filling and harvesting.
How long does it take to grow mushrooms?
Typically, mushroom growth takes about 4 to 6 weeks, depending on the type.
Can I reuse the substrate after harvesting?
It’s best to discard the used substrate, as it may not have enough nutrients left for another successful crop.
Conclusion
Growing mushrooms in plastic bottles is a simple yet rewarding project that allows you to recycle while enjoying homegrown produce. With the right materials and a little care, you’ll have fresh mushrooms in no time. Have you tried growing mushrooms at home before? Share your experiences in the comments!