Master 1-Minute Rope Knot DIY for Stunning Results You’ll Love!
Master 1-Minute Rope Knot DIY for Stunning Results You’ll Love!
Introduction
Have you ever found yourself struggling with tangled cords or looking for a quick way to secure items in your home? Sometimes, a simple knot can make all the difference in organizing your space or enhancing your DIY projects. Whether you’re a seasoned crafter or just looking to tidy up, mastering a quick rope knot is both practical and rewarding. Keep reading to discover how you can easily tie a rope knot in just a minute and put it to good use in your everyday life.
Materials Required
Before diving into the steps of tying your rope knot, gather the essentials. The right materials will not only make the process smoother but also ensure your knot holds well.
- Rope: Choose a medium thickness rope, about 3 to 4 feet long.
- Surface: A flat, stable surface will make it easier to work.
- Optional tools: Scissors (if you need to cut the rope to length) and a yardstick or tape measure for precision.
Step-by-Step Guide
Let’s break down the process of tying your knot step by step. This quick guide will make it easy for you to follow along and master the technique in no time.
1. Preparing the Rope
- Lay out your rope on the surface, ensuring it isn’t tangled.
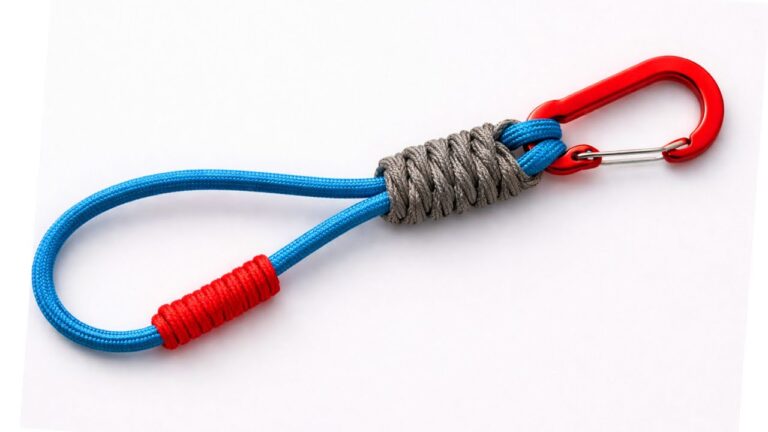
- Fold the rope in half to create a loop at one end.
2. Creating the Knot
- With the loop at the top, take the two remaining strands and wrap them around the main loop.
- Insert one end of the rope through the loop you just formed.
- Pull the ends tight to secure the knot, ensuring it feels firm and steady. You can do this by holding one side and pulling the other side with equal force.
3. Testing the Knot
- Check the knot for stability by pulling on both ends.
- If necessary, adjust the loops to ensure it’s tight and secure before displaying or using it.
Common Mistakes
When learning to tie a rope knot, it’s easy to make a few simple errors. Here are some pitfalls to avoid:
- Forgetting to check the rope length before starting can lead to inadequate material for the knot.
- Trying to rush through the knot-making process may cause uneven tension.
- Neglecting to test the knot’s security before use can result in unexpected slips or failures.
FAQ
What type of rope is best for beginners?
A medium thickness rope suitable for household use is perfect for beginners, as it allows for easier handling and knot formation.
Can I use this knot for outdoor projects?
Yes, this knot is versatile and can be used for both indoor and outdoor projects, such as securing garden items or tarps.
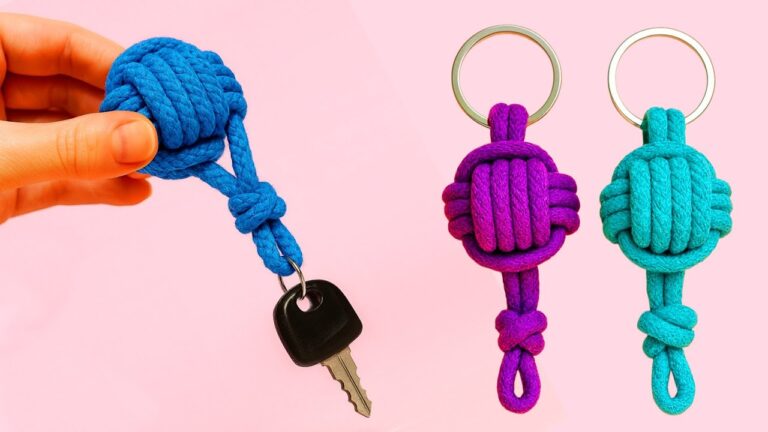
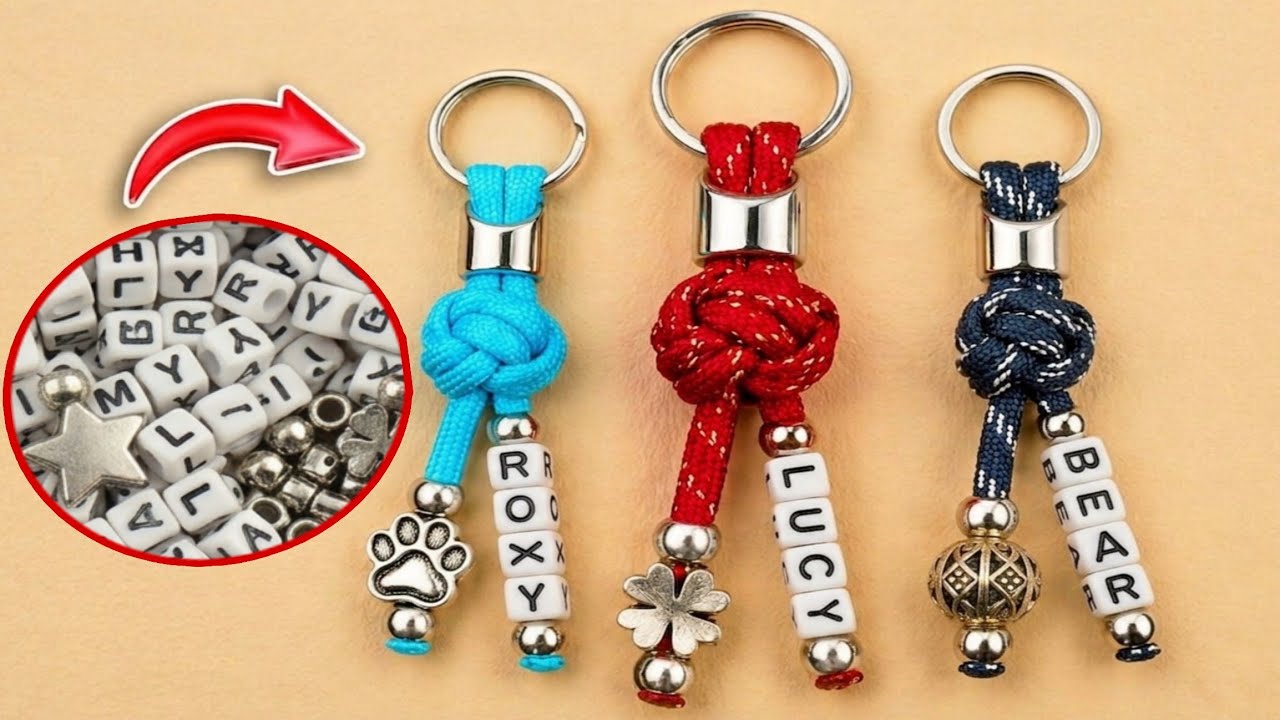
How do I make the knot decorative?
You can use colorful ropes or add embellishments to enhance the visual appeal of your knot for crafts or décor.
Conclusion
Mastering a quick rope knot can enhance your DIY capabilities and help keep your space organized. With the steps outlined, you’re equipped to create functional and stunning results with ease. What other projects do you think could benefit from a swift knot tie? Share your ideas in the comments!