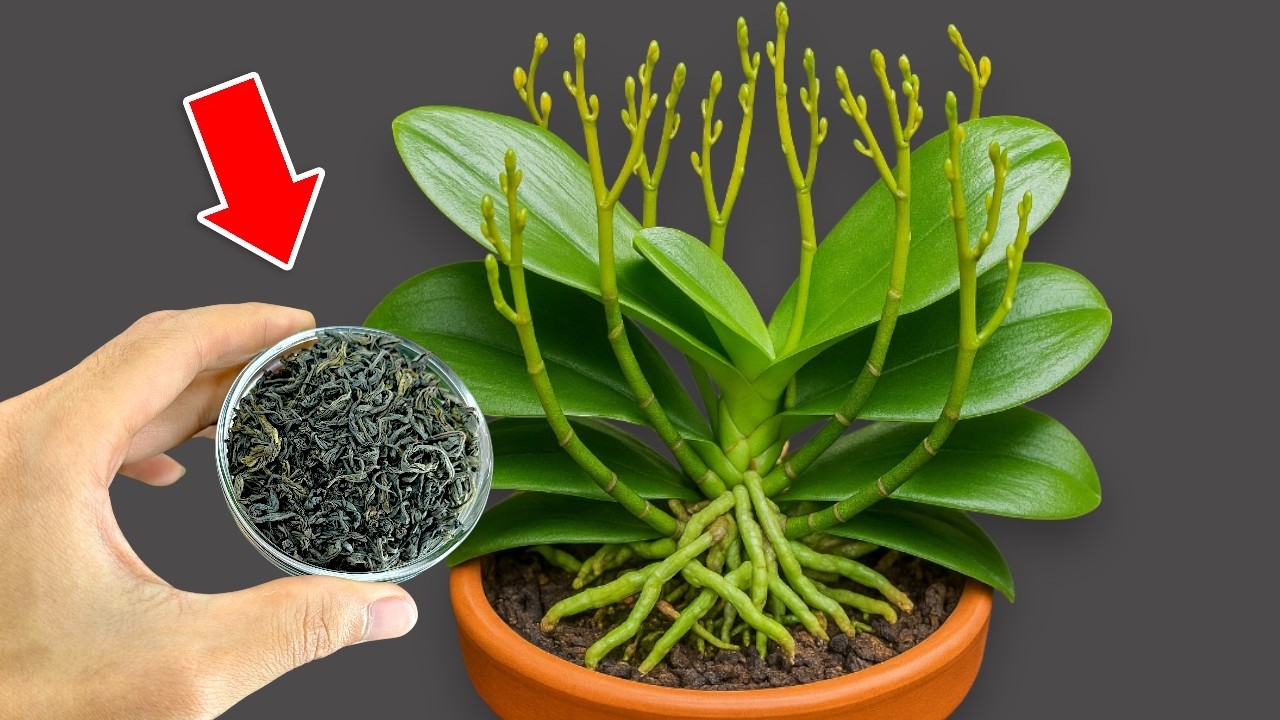
Transform 1 Orchid Node into 10+ Blooms with This Simple Trick!
Transform One Orchid Node into Ten or More Blooms with This Simple Trick
- The Basics of Orchid Nodes
- Step-by-Step Guide to Encouraging Blooms
- Care Tips for Healthy Orchids
- Common Mistakes to Avoid
- FAQ
Imagine your orchid sitting silently on a windowsill, its unassuming node waiting for that moment of transformation. While it might seem like a waiting game, you can actually encourage your orchid to produce numerous blooms from just one node. This process might feel daunting, but understanding a few key principles and simple techniques can make all the difference. Let’s dive into this rewarding journey together!
The Basics of Orchid Nodes
Before we explore the method to boost blooms, it’s essential to understand what an orchid node is. A node is a section on the stem where leaves or roots grow. Orchids typically feature multiple nodes, each capable of producing new growth and, ultimately, flowers.
Understanding Orchid Growth
Orchids grow from their nodes, which serve as the heart of new development. When a node is healthy, it can produce additional buds or branches, leading to more blossoms. Recognizing the vitality of these nodes is a crucial first step in your blooming journey.
Types of Orchids and Their Nodes
Different types of orchids, such as Phalaenopsis and Dendrobium, have varied growth patterns. Learning about your specific orchid type can help tailor your approach. For instance, Phalaenopsis orchids tend to produce larger blooms but may require different care compared to other species.
Step-by-Step Guide to Encouraging Blooms
Now that you understand the importance of nodes, let’s look at how to nurture them for maximum bloom potential.
- Assess the Node: Examine the node for any signs of health. A healthy node will appear firm and may be slightly green. If it’s dried out or damaged, nurturing it will be less effective.
- Trim the Stem: When ready, use sterilized scissors to cut the stem just above the node. This encourages the plant to channel its energy into the remaining nodes, promoting growth.
- Humidify the Environment: Orchids thrive in humidity. You can achieve this by misting the leaves, using a humidity tray, or placing a humidifier nearby.
- Provide Adequate Light: Position your orchid where it receives bright, indirect sunlight. Too much direct sunlight can scorch the leaves, while too little can hinder bloom development.
- Monitor Watering: Water your orchid when the potting mix is dry to the touch. Overwatering can harm the roots, whereas underwatering can delay blooming.
Using Fertilizer for Enhanced Growth
In addition to proper care, a balanced orchid fertilizer can stimulate growth. Fertilize every two to four weeks during the growing season to promote healthy blooms. Make sure to dilute the fertilizer to avoid overwhelming your plant.
Creating Optimal Conditions
Consider environmental factors such as temperature and air circulation. Orchids prefer temperatures between 65°F to 75°F during the day and slightly cooler at night. Good air circulation helps prevent mold and decay, which can hinder bloom growth.
Care Tips for Healthy Orchids
Caring for your orchid doesn’t stop after encouraging blooms from a node. Consistent care will lead to future flowering and overall plant health.
Routine Maintenance
Ensure to clean the leaves and check for pests regularly. Dust can accumulate on leaves, hindering their ability to photosynthesize.
Repotting for Growth
Repot your orchid every one to two years, depending on its growth. Fresh potting medium promotes healthy roots and can facilitate blooming. Choose a pot that allows for proper drainage to prevent root rot.
Seasonal Changes
As seasons change, adjust your care routine accordingly. In winter, reduce watering as plants enter dormancy. This helps in preparing the plant for the next blooming cycle.
Common Mistakes to Avoid
While caring for orchids, certain missteps can lead to poor performance. Being aware of these can save you time and frustration.
1. Overwatering
Many orchid owners mistakenly believe that orchids require constant moisture. Overwatering can lead to root rot, which may kill the plant. Always let the potting medium dry slightly between waterings.
2. Poor Lighting
Insufficient light can result in minimal blooming. Ensure your orchid receives bright, indirect sunlight for about 12 hours a day. Adjust its position as needed to provide the right amount of light.
3. Using the Wrong Potting Mix
Orchids require specialized potting mixtures that allow for aeration and drainage. Using regular potting soil can suffocate their roots, limiting growth.
FAQ
Q: How long does it take for an orchid to bloom after cutting the stem?
A: Typically, it can take a few weeks to several months for new blooms to appear, depending on the orchid type and care provided.
Q: Can I encourage blooms from multiple nodes at once?
A: Yes, you can focus on multiple nodes for blooming, but ensure each has access to proper care and resources for optimal results.
Q: Should I use a specific fertilizer for orchids?
A: Yes, using a fertilizer specifically designed for orchids will help provide the correct nutrients without overwhelming the plant.
Conclusion
By understanding your orchid’s nodes and providing the right care, you can transform a single node into multiple beautiful blooms. What experiences have you had with growing orchids? Share your thoughts in the comments below!