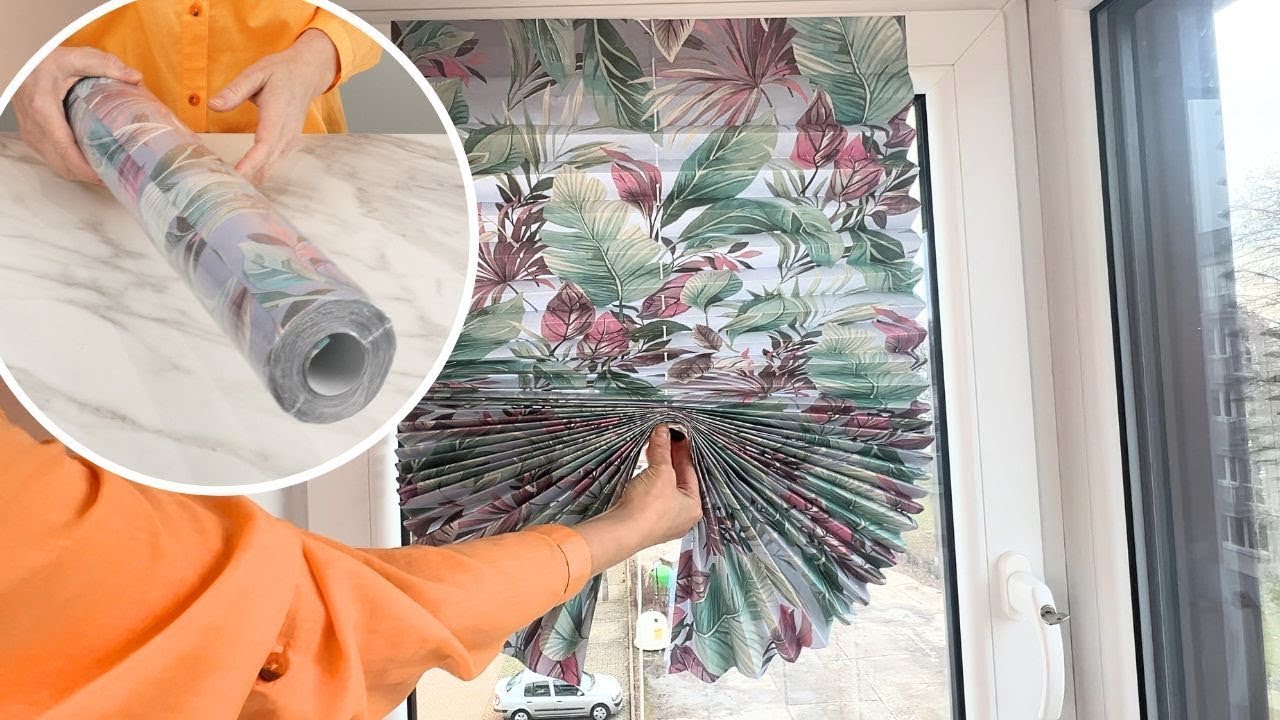
10 Genius DIY Hacks to Replace Your Blinds and Save Money!
10 Creative Ways to Replace Your Blinds and Enhance Your Home
- Introduction
- Inspiration for Window Coverings
- Steps to Create Your Own Blinds
- Common Mistakes to Avoid
- FAQ
- Conclusion
Introduction
When you look around your living space, do you find your window treatments feeling outdated or uninviting? Perhaps your blinds are worn or simply don’t suit your style anymore. Instead of spending on costly replacements, there are plenty of creative alternatives that can bring freshness to your home while being budget-friendly. Discover the possibilities within DIY window treatments that can add flair and functionality to your rooms. Let’s explore these inspiring ideas together.
Inspiration for Window Coverings
Choosing the right materials for your DIY window coverings can significantly impact their look and feel. Below we explore some options to spark your creativity.
1. Fabric Panels
Fabric panels are a versatile option for window coverings. Select materials that complement your décor:
- Light, airy fabrics like sheer cotton enhance brightness.
- Heavy, textured fabrics provide warmth and privacy.
- Patterned fabrics can add a pop of color or design.
2. Wooden Cornices
If you’re looking for a more classic touch, consider creating wooden cornices. They can be painted or stained to match your interior:
- Select reclaimed wood for a rustic feel.
- Use simple patterns for a DIY project that is both easy and stylish.
3. Macramé Hangings
Macramé has made a comeback and is perfect for those wanting a bohemian vibe. With just some cord and a bit of creativity, you can:
- Cut lengths of macramé cord to your desired height.
- Weave intricate knots to create unique designs.
- Hang them with a simple rod for a beautiful effect.
Steps to Create Your Own Blinds
If you’ve found inspiration and are ready to dive into your DIY project, the following steps will guide you in crafting your own unique window treatments.
Required Materials
Before starting, gather your materials. Here’s a basic list:
- Fabric or wood (depending on your design)
- Rope or curtain rods
- Scissors and a hot glue gun for assembly
Creating Fabric Blinds
- Measure your window to get accurate dimensions.
- Cut the fabric to size, allowing extra for hems.
- Hem the edges of the fabric to prevent fraying.
- Attach the fabric to a curtain rod or directly onto your window frame.
Making Wooden Blinds
- Gather wooden slats of your choice.
- Sand the edges for a smooth finish.
- Paint or stain them to achieve your desired look.
- Install the slats in place using brackets or a hanging system.
Common Mistakes to Avoid
As you take on this DIY project, it’s essential to be aware of common pitfalls to ensure success.
1. Incorrect Measurements
Double-check your measurements before cutting any materials. This avoids wasted time and resources.
2. Skipping Preparation Steps
Don’t rush through the preparation phase. Prepping your materials will yield better results.
3. Underestimating the Weight
Ensure that your chosen materials are suitable for the window. Heavy fabrics may require sturdier rods.
FAQ
How do I clean DIY blinds made from fabric?
For fabric blinds, it’s best to spot clean with a gentle detergent and water. Some fabric types can also be machine washed—always check the care label first.
Can I use old wooden pallets for my blinds?
Using old wooden pallets is a great idea! Just make sure to sand them down thoroughly to avoid splinters and ensure a safe finish.
What is the best material for blackout curtains?
For blackout curtains, opt for thicker materials like heavy cotton or velvet. These fabrics provide excellent light-blocking capabilities.
Conclusion
Replacing your blinds creatively can enhance your home’s aesthetic while saving you money. With a little inspiration and planning, you can craft unique window treatments that reflect your style. What DIY window covering project are you excited to try next? Share your ideas in the comments!