3 Genius Handyman Tricks You Need to Know Now!
3 Handy Home Improvement Tricks You Should Know
- Essential Tools for Any Project
- Clever Techniques for Smooth Projects
- Troubleshooting Common Issues
- Common Mistakes to Avoid
- Frequently Asked Questions
Have you ever found yourself stuck during a home project, unsure how to proceed or fix an unexpected issue? Maybe you’ve spent an afternoon working only to realize your approach wasn’t the most effective. It’s not uncommon to feel overwhelmed by the multitude of tasks that come with home improvement, especially if you’re not equipped with the right tricks. However, with a few simple techniques in your toolkit, you can transform your DIY experience. Keep reading to discover valuable handyman tricks that can make your home projects easier and more efficient.
Essential Tools for Any Project
Before diving into any home improvement task, having the right tools is crucial. Here are some must-have tools that will save you time and effort:
- High-quality tape measure: Invest in a durable tape measure that can retract smoothly and features easy-to-read markings.
- Level: A good level is indispensable for ensuring that your shelves, pictures, or anything else you hang is perfectly straight.
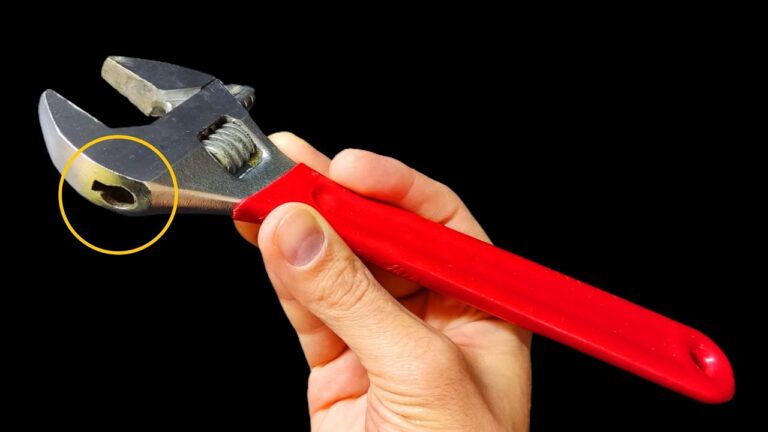
- Multi-tool: A multi-tool can adapt to various tasks, making it perfect for quick fixes without needing to search for numerous tools.
Choosing the Right Tape Measure
Select a tape measure that extends at least 25 feet. Look for a magnetic tip for hands-free measuring, and consider one with a sturdy casing to withstand regular wear and tear.
Using a Level Effectively
When using a level, remember to place it on the surface you’re measuring. Adjust your installation based on the bubble’s position for accurate alignment.
Benefits of a Multi-tool
A multi-tool typically includes a variety of small tools that can handle different tasks. This reduces clutter in your toolbox and streamlines your projects.
Clever Techniques for Smooth Projects
With the right tools in hand, knowing some effective techniques can take your DIY game to the next level. Here are a few handy tricks to consider:
- Pre-drilling holes: This technique can prevent your wood from splitting and make it easier to insert screws.
- Using painter’s tape: Stick painter’s tape along edges to ensure clean lines when painting or applying finishes.
- Leveraging the power of vinegar: Vinegar can clean stubborn spots and is great for unblocking drains without harsh chemicals.
How to Pre-drill Holes
To pre-drill holes, select a drill bit slightly smaller than your screws. Mark your drilling points clearly and apply steady pressure to avoid damaging the material.
Applying Painter’s Tape
Apply painter’s tape along the areas you wish to protect. Press down firmly to prevent any paint from seeping underneath.
Cleaning with Vinegar
Mix equal parts of vinegar and water in a spray bottle for an effective, natural cleaner. Use it on surfaces that require a gentle touch but tough on grime.
Troubleshooting Common Issues
No project goes perfectly, and knowing how to troubleshoot can save you time and frustration. Here are common issues you might face:
- Warped wood: This can happen due to moisture or heat. Store wood in a dry, temperature-controlled space whenever possible.
- Paint imperfections: Dried bubbles or peeling paint can often be resolved by ensuring your surfaces are clean and dry before application.
- Loose screws: If screws frequently loosen, consider using filler like wood glue for better grip, or replace them with slightly larger screws.
Preventing Warped Wood
To avoid warping, always store your wood in a sheltered area away from direct sunlight or dampness, and allow it to acclimate to your space.
Fixing Paint Imperfections
If you spot imperfections, lightly sand the area and apply a fresh coat once it’s smooth to achieve a flawless finish.
Securing Loose Screws
To tighten loose screws, try a slightly larger screw or apply wood glue to fill the void around the screw for a more secure hold.
Common Mistakes to Avoid
Even the best intentions can lead to mishaps. Here are some mistakes to steer clear of during your home improvement projects:
- Skipping the planning phase: Taking the time to plan your project can lead to better execution and fewer errors.
- Neglecting safety gear: Always wear protective gear like gloves and goggles to safeguard yourself against injuries.
- Underestimating project time: Always allocate more time than you expect for the completion of your project to avoid stress.
Importance of Planning
Before you begin, draw a plan and list out materials needed to streamline your process and save unnecessary trips to the store.
Wearing Safety Gear
Ensure you have safety goggles, gloves, and a mask if necessary, especially when working with chemicals or power tools.
Estimating Project Time
Consider potential challenges or interruptions in your day. This will give you a better timeframe and reduce frustration.
Frequently Asked Questions
What tools do I need for basic home repairs? A few essential tools include a tape measure, a level, a multi-tool, a hammer, and screwdrivers.
How can I clean my tools after use? Use a mixture of warm water and mild soap to clean your tools, then dry them to prevent rust.
What are some easy home improvement projects for beginners? Simple tasks like painting a room or installing shelves can be excellent projects for novices to build confidence.
With these handy home improvement tricks in your arsenal, you’ll find tackling projects much more manageable. By avoiding common mistakes and knowing how to troubleshoot, you can create a space that resonates with your style and functionality. What home project are you planning to tackle next? Let us know in the comments below!