An old trick turns simple thread into stunning decor… you’ll want to try this!
An Old Trick Turns Simple Thread into Stunning Decor… You’ll Want to Try This!
Discover the Magic of Tassel Making
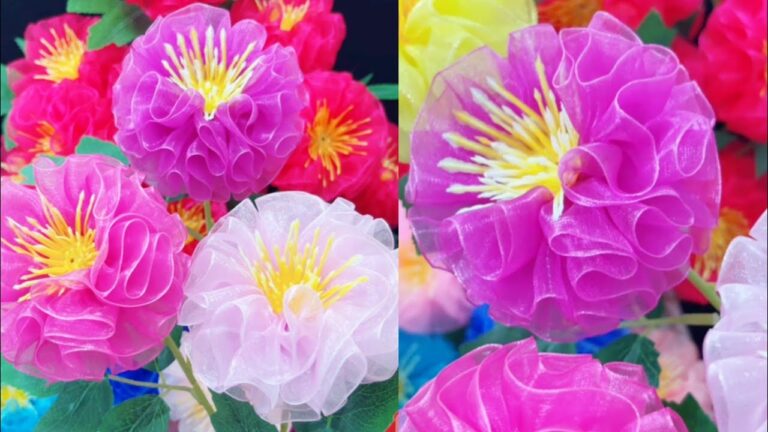
Tassels are a **timeless decoration** that can elevate any space in your home. With just a few materials and a little creativity, you can transform simple thread into eye-catching decor. Let’s dive into the step-by-step journey of crafting beautiful tassels that will impress your friends and family!
Materials You Need
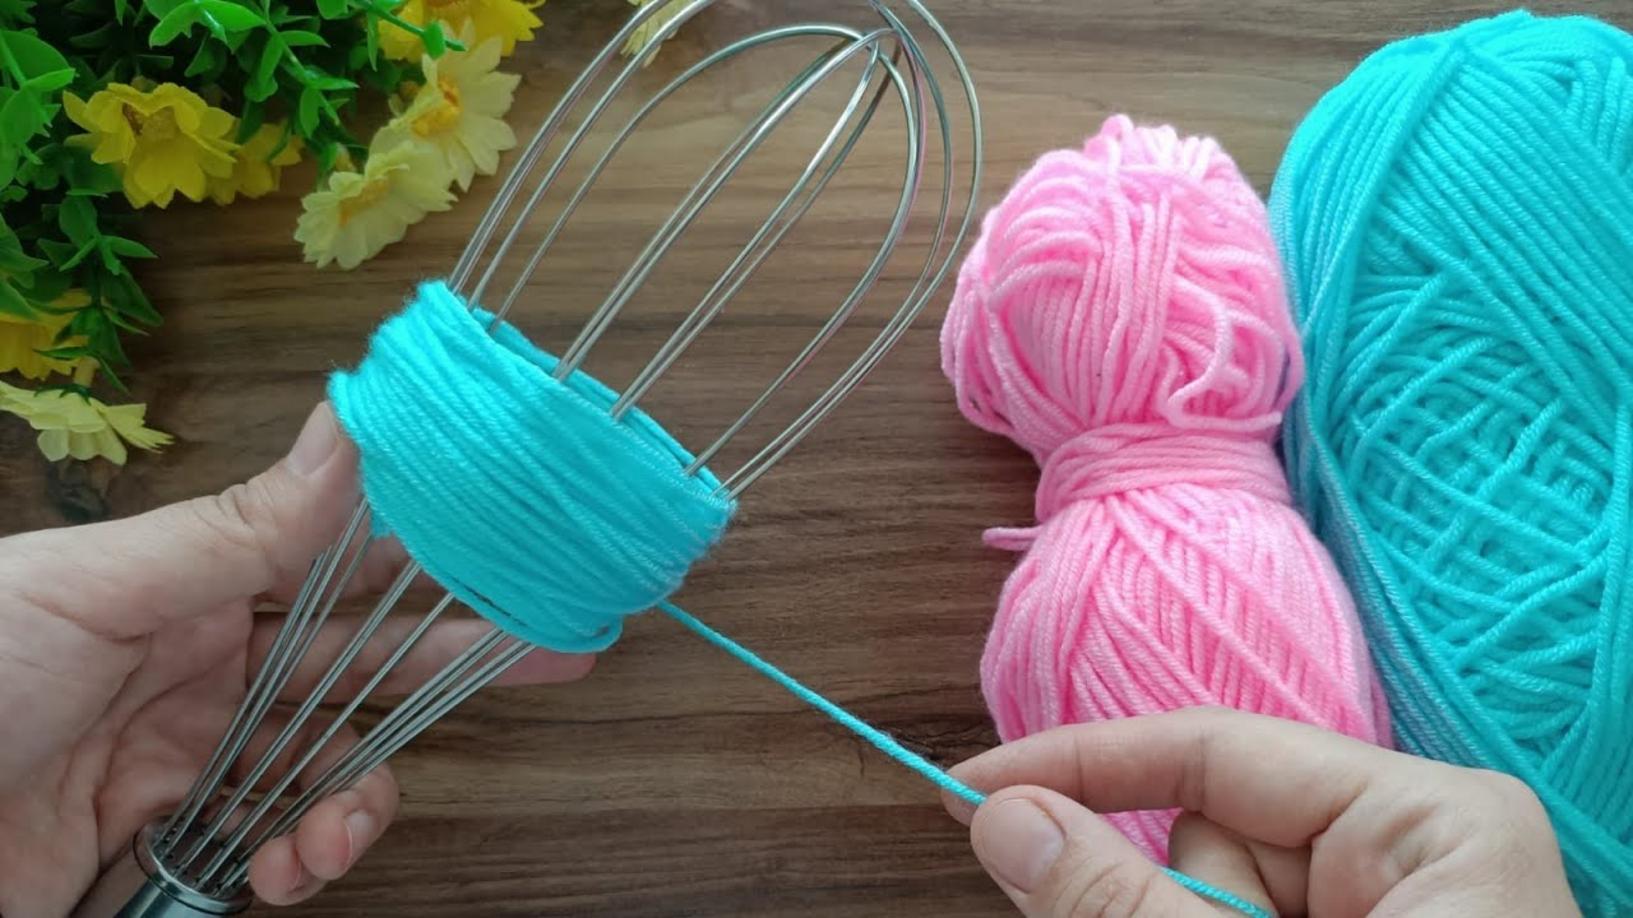
- Thread: Choose a variety of colors to match your decor.
- Cardboard: This will be used to wrap the thread around.
- Scissors: A must-have for cutting the thread.
- Glue or Tape: For securing your tassel.
- Optional: Beads or embellishments: To add a personal touch.
Step-by-Step Guide to Making Tassels
Step 1: Prepare Your Cardboard
Start by cutting a piece of cardboard to your desired length. A standard size is about 4-6 inches, but feel free to adjust it based on how big you want your tassels to be.
Step 2: Wrap the Thread
Take your chosen thread and begin wrapping it around the cardboard. Make sure to wrap it tightly and evenly. The more wraps you do, the fuller your tassel will appear. Aim for about **30-50 wraps**.
Step 3: Secure the Top
Once you’re satisfied with the thickness, slide the wrapped thread off the cardboard. Take a small length of thread (in the same color or another) and tie it tightly around the top of the wrapped thread. This will create the head of the tassel.
Step 4: Cut the Loops
Using scissors, carefully cut through the bottom loops of the wrapped thread. This will give your tassel its fluffy look!
Step 5: Trim and Shape
Trim the ends of the tassel to ensure they’re even. You can also shape your tassel to the desired length at this stage.
Step 6: Add Finishing Touches
If desired, enhance your tassel with beads or other embellishments. You can string them onto the tying thread for a more decorative finish.
Common Mistakes to Avoid
- Inadequate Wrapping: Ensure the thread is wrapped tightly to avoid a flat tassel.
- Skipping the Trim: Always trim for a polished look; unkempt ends can ruin your design.
- Over-complicating: Keep it simple! Sometimes less is more in tassel design.
Conclusion: Unleash Your Creativity!
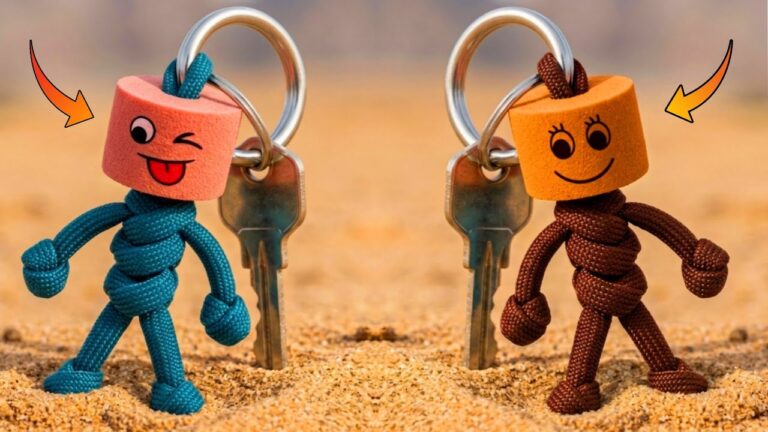
Now that you know how to make your own stunning tassels, it’s time to **get creative**! Whether you want to use them for curtain tiebacks, keychains, or simply as home decor, the possibilities are endless. So gather your materials and start crafting today!
If you enjoyed this DIY project, consider sharing your creations on social media. Follow me on Instagram at Mini Atölye for more inspiration and tips!