Create a Mini Car with Just 15 Metal Nuts and Bolts – Easy DIY Project!
Create a Mini Car with Just 15 Metal Nuts and Bolts – Easy DIY Project!
Introduction
Have you ever watched a kid’s face light up with joy when they see a toy car? Crafting something with your hands can be a fulfilling experience, especially when it’s a tiny car made from simple materials like nuts and bolts. This project not only allows you to unleash your creativity but also serves as a wonderful bonding activity for parents and children. While you may be wondering how to turn those everyday supplies into a fun miniature vehicle, there’s much more to explore. Keep reading to dive deeper into this easy DIY project.
Required Materials
Before you roll up your sleeves, it’s essential to gather everything you need. The right materials will make your DIY project smoother and more enjoyable.
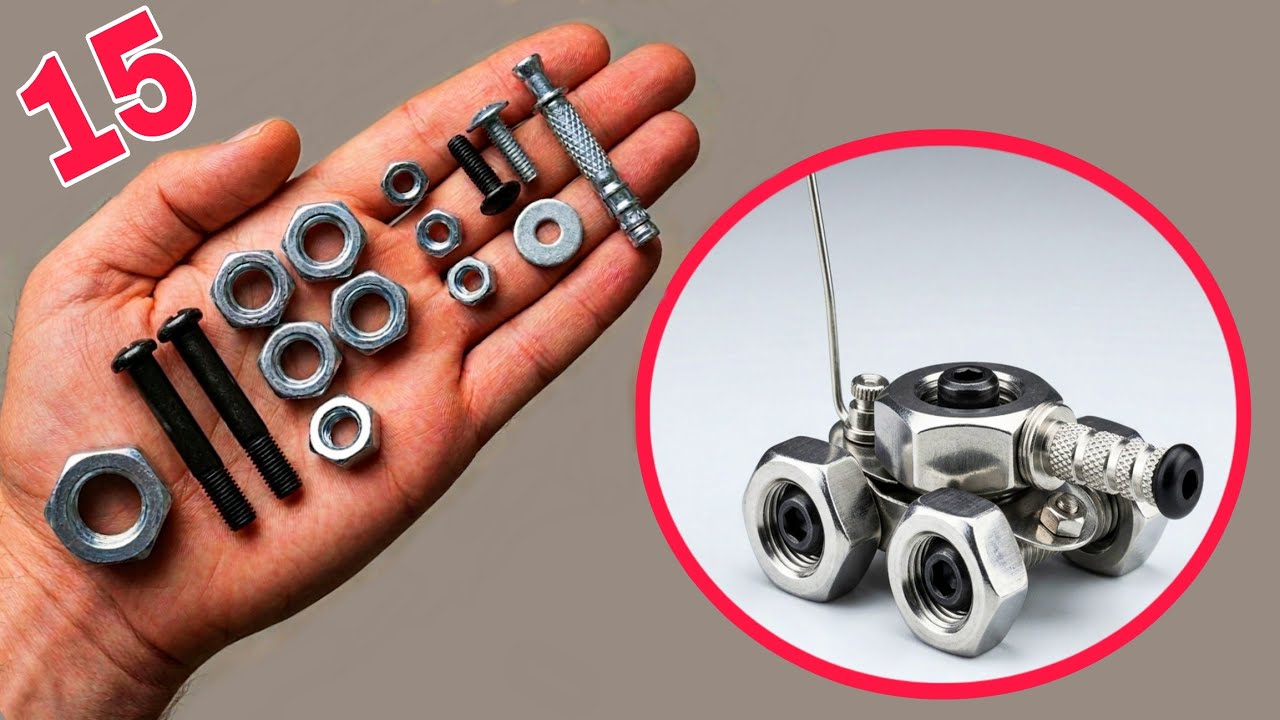
- 15 metal nuts and bolts
- 2 small washers
- A piece of cardboard as a base
- Glue or adhesive putty
- Paint or colored markers for decoration
- Optional: wheels from an old toy car
Step-by-Step Instructions
Now that you have all the materials, let’s bring your mini car to life. Just follow these simple steps:
1. Assemble the Car Base
- Cut the cardboard into a rectangular shape, about 10 inches long and 5 inches wide. This will serve as the body of your mini car.
- Glue the two washers to the ends of the cardboard to create a space for the wheels.
2. Attach the Wheels
- If using wheels from an old toy car, attach them to the washers. If you don’t have toy wheels, you can use the metal nuts directly to serve as wheels.
- Secure the nuts in place using glue or adhesive putty to ensure they stay put.
3. Customize Your Mini Car
Now it’s time to add your personal touch. Use paint or colored markers to decorate your mini car as you like. You can even add stickers or draw designs. This step allows you to express your creativity and make the car uniquely yours!
4. Final Assembly
- Double-check that all parts are securely attached.
- Let the glue dry completely before playing with your new toy car.
Common Mistakes
While crafting your mini car can be an enjoyable experience, there can be a few pitfalls to watch out for. Here are some common mistakes to avoid:
- Forgetting to let the glue dry completely can result in parts coming off during play.
- Overloading your car’s body with too many decorations can make it heavy and difficult to roll.
- Not using enough adhesive can undermine the durability of your creation.
- Choosing the wrong size washers may affect how well your wheels spin.
FAQ
What age is suitable for this DIY project? This project is great for children aged 6 and up, but younger kids may need some adult supervision.
Can I use different materials besides metal nuts and bolts? Absolutely! You can use plastic nuts and bolts or even buttons and bottle caps for a lighter option.
How long will this project take? Set aside about one to two hours, depending on the complexity of your design and drying times for the glue.
Conclusion
Create your own mini car using only metal nuts and bolts and watch as your DIY project transforms into a charming little toy! With a bit of creativity and the right materials, you can enjoy a rewarding crafting experience. Have you tried making a mini car or another fun project? Share your thoughts in the comments!