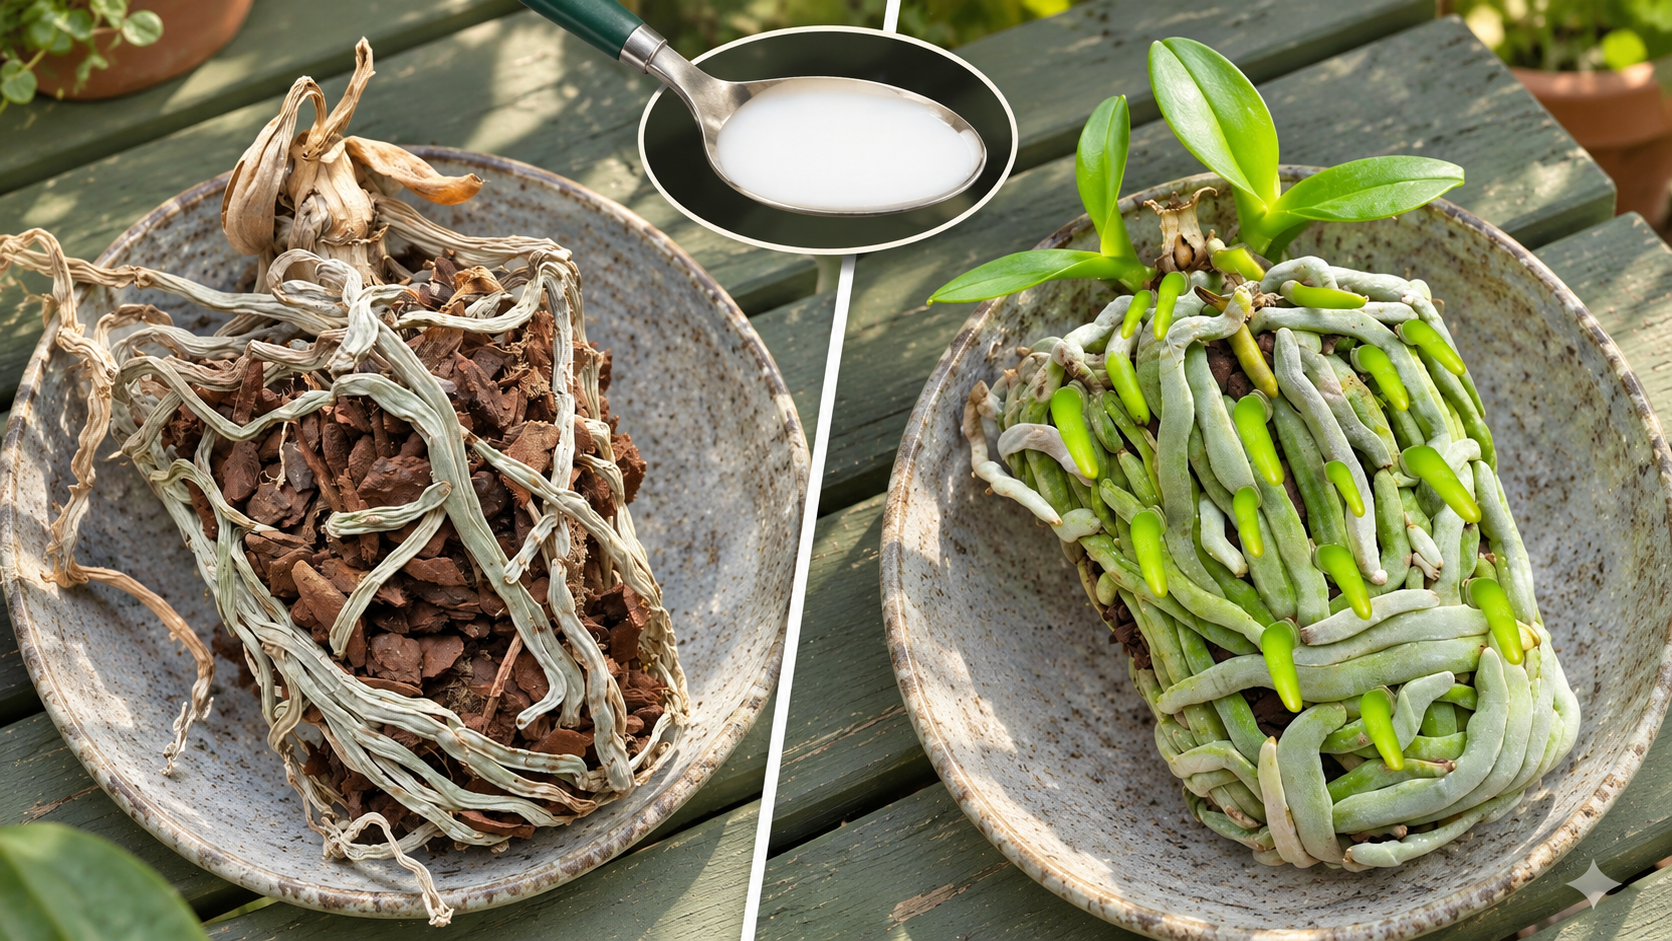
Just a spoonful! Discover the right start to help your orchid grow roots again
An orchid with weakened roots needs a careful restart, not an increasingly strong dose of fertilizer. Before reaching for a spoon, check whether the remaining roots are firm and whether the bark still provides air spaces. The steps below concern Phalaenopsis, the common moth orchid. Supporting root recovery and preparing future flowers both begin with a workable growing environment.
Separate a damaged root from a healthy aerial root
Do not remove a root just because it is pale, outside the pot, or less attractive than the roots in a photograph. Moisture and light influence color. Firmness and intact tissue are useful observations, while soft, collapsing or foul-smelling material deserves closer attention. Use clean tools only when removal is clearly justified, and preserve healthy growing tips.
A plant with fewer functioning roots may not use water at the same rate as a larger healthy specimen. Assess the actual root system when choosing a pot, rather than placing the plant in a large volume of wet mix. Avoid using fine garden soil in place of the airy medium appropriate to this orchid.
Keep your recovery plan simple: suitable light, careful moisture checks, and drainage after watering. Do not use a household mixture to disguise an unresolved problem. If much of the base is soft or you cannot identify viable roots, obtain help from an experienced orchid grower. Clear photographs and the recent watering history are more useful than a list of remedies applied one after another.
This guide focuses on the moth orchid, Phalaenopsis, the type commonly sold as a flowering houseplant. Its roots need a different environment from those of plants grown in ordinary potting soil. A carefully timed feeding can support active growth, but it cannot replace healthy roots, appropriate light, and a pot that drains freely.
What a small feeding can actually do
Fertilizer supplies nutrients that a plant uses during growth. It does not create the light needed for photosynthesis or repair dead roots. That distinction matters when an orchid stops blooming. Increasing fertilizer before checking the growing conditions can add another problem without solving the original one.
Look for active development. A smooth new leaf emerging from the center, fresh root tips, or an extending flower spike can indicate that the orchid is growing. If the plant is deteriorating, with collapsing leaves or soft roots, address the cause before trying to stimulate flowers.
Use a fertilizer labeled for the intended application and follow its dilution instructions. Concentrations vary between products, so a spoonful is not a universal dose. Measure the concentrate accurately and mix it with water before applying it. Never pour concentrated fertilizer directly onto exposed orchid roots.
Check the roots before changing the routine
A clear nursery pot makes root inspection easier. Healthy roots generally feel firm and retain their structure. Roots exposed to light may look green when moist and more silvery when dry, but color is not a complete diagnosis. Roots inside the pot can look different because they receive less light.
Soft, hollow, or disintegrating roots need closer attention. If the potting medium stays wet for a long time and the plant smells unpleasant, remove the decorative outer pot and investigate the drainage. Do not assume that limp leaves always mean the plant needs more water.
Leave firm aerial roots alone. They are a normal feature of many moth orchids and do not need to be trimmed simply because they grow outside the container. Their tips are vulnerable to damage, so avoid repeatedly handling them or forcing them into a tight space.
Choose light that supports the next flowering cycle
Place the orchid where it receives generous, filtered daylight. A dark shelf may preserve the plant for a while without supporting strong development. At the opposite extreme, intense sun through glass can damage leaves. Observe the actual light reaching the plant at different times of day.
If an orchid has been sitting in a dim location, introduce brighter conditions gradually. Watch for pale or dry patches on the side facing the window. A sheer curtain or a modest adjustment in distance can reduce strong direct exposure without moving the plant back into darkness.
Keep the leaves away from cold window glass, hot vents, and sharp drafts. Stable household conditions are easier to manage than repeated changes between rooms. Do not expose a struggling orchid to extreme cold in an attempt to force a flower spike.
Water according to the pot, not a fixed promise
Before watering, consider the weight of the pot, moisture in the medium, and the condition of several visible roots. One dry root near the surface does not prove that the center is dry. Bark size, pot dimensions, temperature, and airflow all influence how quickly moisture is lost.
Water when the medium has dried sufficiently, before the roots remain completely dry for an extended period. Let the excess drain thoroughly. The inner pot should not sit in a reservoir inside a decorative container. Check again after replacing it, because additional water can collect as the pot finishes draining.
Keep water from pooling in the crown, where the leaves meet. If water collects there, gently absorb it without damaging the growing point. Use moderate-temperature water and avoid treating ice cubes as an essential orchid-care technique. Careful watering gives you more control over the whole root zone.
Make feeding simple enough to track
- Confirm that the plant has healthy roots and signs of active growth.
- Read the fertilizer label, including its dilution and application frequency.
- Measure the product using a suitable dosing tool.
- Apply the prepared solution as directed and allow complete drainage.
- Record the date so you do not accidentally repeat the feeding too soon.
Check whether your potting product already includes nutrients. Adding several fertilizers together can make the total dose difficult to judge. The same applies to combining liquid fertilizer with slow-release products without accounting for both. A clear, consistent routine is easier to adjust than a collection of overlapping treatments.
If salts appear to be accumulating on the pot or medium, review the water and fertilizer routine. Do not respond by adding a stronger dose. When appropriate for the setup, watering thoroughly with suitable plain water and allowing it to drain can help reduce accumulated soluble residues. Severely degraded medium may require replacement.
Why kitchen mixtures are an unreliable shortcut
Banana-peel water, rice water, and eggshell mixtures are often presented as inexpensive bloom boosters. Their nutrient content and concentration are not standardized. The presence of minerals in the original ingredient does not establish how much becomes available in a homemade liquid or whether the balance suits an orchid.
Organic residues can also make a small pot harder to manage. They may leave material in the bark, produce odors, or encourage unwanted growth. A solution that looks mild can still be unsuitable when repeatedly added to the same root environment. There is no need to experiment with several recipes at once.
For predictable feeding, choose a product with clear instructions. For root problems, correct the potting and watering conditions. These are separate decisions. A homemade mixture should never delay investigating a plant that is visibly declining.
When repotting is more useful than fertilizing
Orchid bark gradually changes as it breaks down. A mixture that once drained quickly may become finer and retain water longer. If the medium is compacted, sour-smelling, or no longer behaving normally, simply adjusting fertilizer will not restore its structure.
Use a suitable orchid medium and a container with effective drainage. Choose a size that accommodates the existing root system without excessive empty space. Ordinary fine potting soil is not an appropriate substitute for the airy bark-based setup normally used for Phalaenopsis.
During repotting, remove loose old material gently. Trim only clearly dead or damaged roots with clean tools, preserving firm roots even when their color is less attractive. Keep the crown above the medium and avoid crushing fresh root tips. Afterward, observe the new pot’s drying pattern before returning to a previous watering schedule.
Handle the old flower spike thoughtfully
A completely dry flower spike can be removed with clean cutting tools. A green spike may behave differently, and some healthy moth orchids can produce a side branch. However, retaining or cutting a spike does not guarantee a specific flowering date.
When the plant has significant root damage or very weak leaves, prioritize recovery. Producing flowers and rebuilding a root system both use resources. It is reasonable to focus first on stable leaves and healthy root growth instead of expecting an immediate replacement display.
Common questions about getting an orchid to rebloom
Does more fertilizer mean more flowers?
No. Nutrients only help within an appropriate care routine. Excess fertilizer can damage roots or contribute to salt accumulation. Follow the product directions and respond to the plant’s growth rather than increasing the dose because a flower spike has not appeared.
Should every watering include fertilizer?
The answer depends on the product and growing conditions. Use its instructions as the starting point and keep a record of applications. Avoid stacking different feeding schedules. When the orchid is recovering from a problem, reassess whether fertilizer is appropriate at all.
How long will another flowering cycle take?
There is no universal deadline. Plant condition, maturity, light, and the previous flowering cycle all matter. Take periodic photos from the same angle and track new roots or leaves. These changes can reveal progress well before buds appear.
A better foundation for future blooms
The useful adjustment is a measured feeding at a suitable moment, supported by healthy roots and consistent care. Check the growing medium, improve unsuitable light, and make sure water can drain away. Then give the orchid time to develop. A stable routine offers a much clearer path forward than repeated attempts to trigger flowers with an unknown ingredient.